
Microsoft provides some lengthy instructions for completely offboarding an account from all services here, but below is a more condensed set of the relevant instructions
Disable Account
- Find the user account to be disabled
- On the overview page, locate the “Account Status” section and click edit
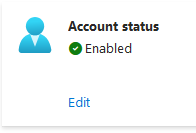
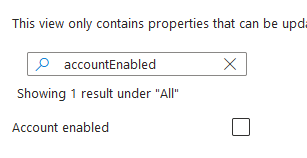
- Uncheck the box for “Account enabled” and then click save
- At this point the account is disabled and can no longer be used for new login sessions
Revoke existing sign in sessions
- Find the user account to be disabled
- From the overview pane, click the “Revoke Sessions” button to revoke all current login sessions across all Microsoft services. Consider doing this for other non-Microsoft services as well (Slack, etc) using the administrative interface for that service

Convert Microsoft mailbox to shared mailbox
If the user has a Microsoft mailbox, converting that to a shared mailbox will allow you to designate other accounts to manage continuity of any necessary email threads or meetings and will prevent the mailbox from being automatically deleted. Note that converting a mailbox to a shared mailbox will prevent the original account from continuing to use this mailbox.
Grant access to Sharepoint & OneDrive files
If the account had Sharepoint or OneDrive files that need to be preserved, you can grant other accounts access to those files
- In the lower left Admin Centers section, click the link for the Sharepoint Admin Center
- Click the “More Features” section in the left hand navigation, then open the “User Profiles” section
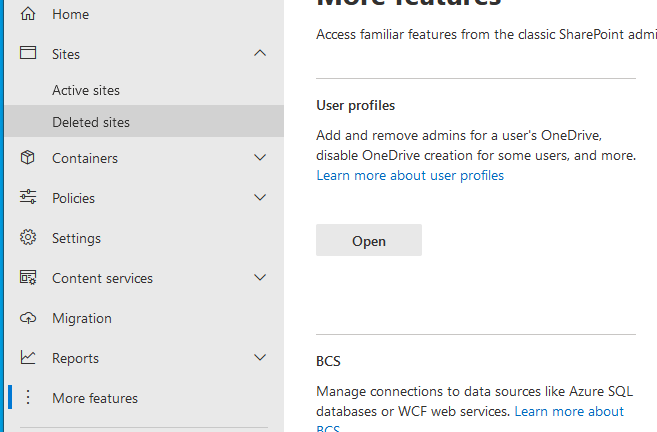
- From there, click “Manage User Profiles”
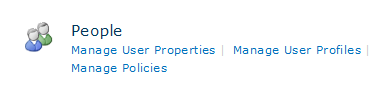
- Search for the profile of the disabled account
- Click the tiny drop-down arrow at the right side of the account name and select “Manage site collection owners”

- Add any relevant supervising accounts to grant them access to the files of the disabled account. This will grant access to both Sharepoint and OneDrive content.
Remove any assigned licenses
Once the account is disabled, any associated mailbox created to a shared mailbox, and any relevant Sharepoint or OneDrive files have been appropriately migrated to a more permanent storage location, then you may reclaim any Microsoft licenses assigned to the disabled account.
- Find the user account to be disabled
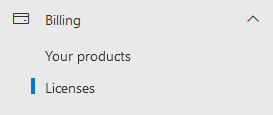
- Click the Licenses section to see which Microsoft licenses are currently assigned to this user account
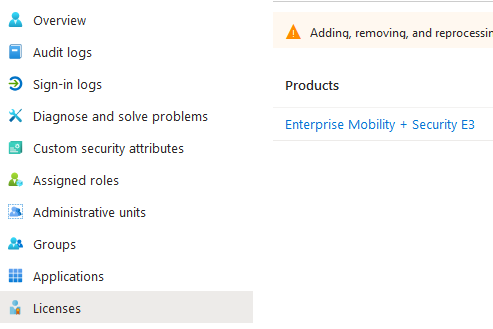
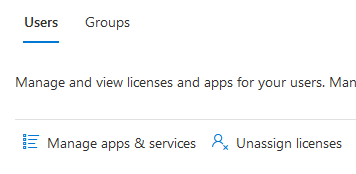
- Click on each relevant license, then search for the disabled user account
- Selecting the disabled user account will allow you to unassign that license. Note that if the license assignment was due to the disabled account being a member of a group with assigned licenses, you will need to remove the disabled user account from the relevant group to properly free up the license.
Excluding a user account from a group with dynamic membership
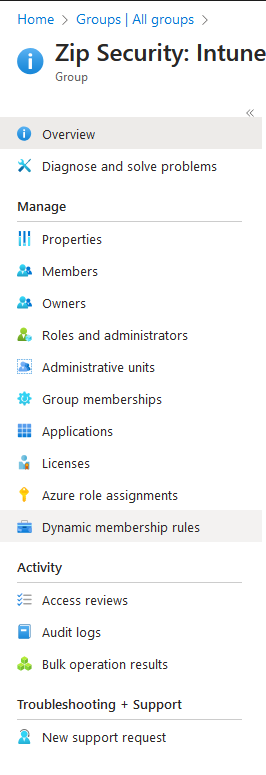
Open Microsoft Entra & navigate to the list of groups: https://entra.microsoft.com/#view/Microsoft_AAD_IAM/GroupsManagementMenuBlade/~/AllGroups/menuId/AllGroups
Locate the group that you wish to edit and then click the Dynamic Membership Rules on the left
Click the Add Expression button. Select
“userPrincipleName” in the Property field, “Not in” for the Operator field, and then create your list of accounts to exclude. Each account name will need to be enclosed in quotes, separated by commas, and the entire list will need to be enclosed in square brackets, as in the example screenshot.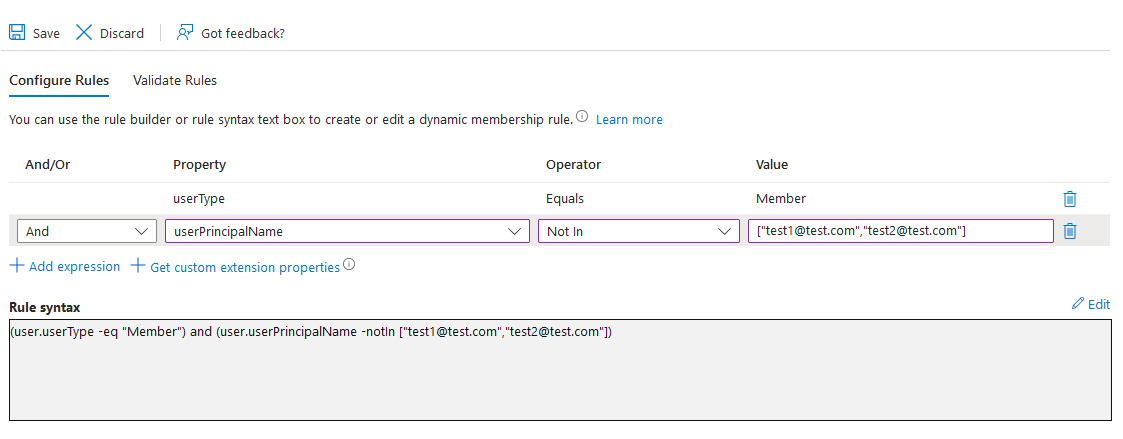
You can then use the Validate Rules tab to confirm that your chosen accounts are no longer considered valid members of the group.
Click Save to confirm the changes to the dynamic rules. Note that it may take up to 1 hour for Microsoft to reflect the changed membership of this group, particularly in regards to inherited license assignment.