
Part One: Activate the subscription
- Navigate to the subscription catalog in Google Workspace: https://admin.google.com/ac/billing/catalog
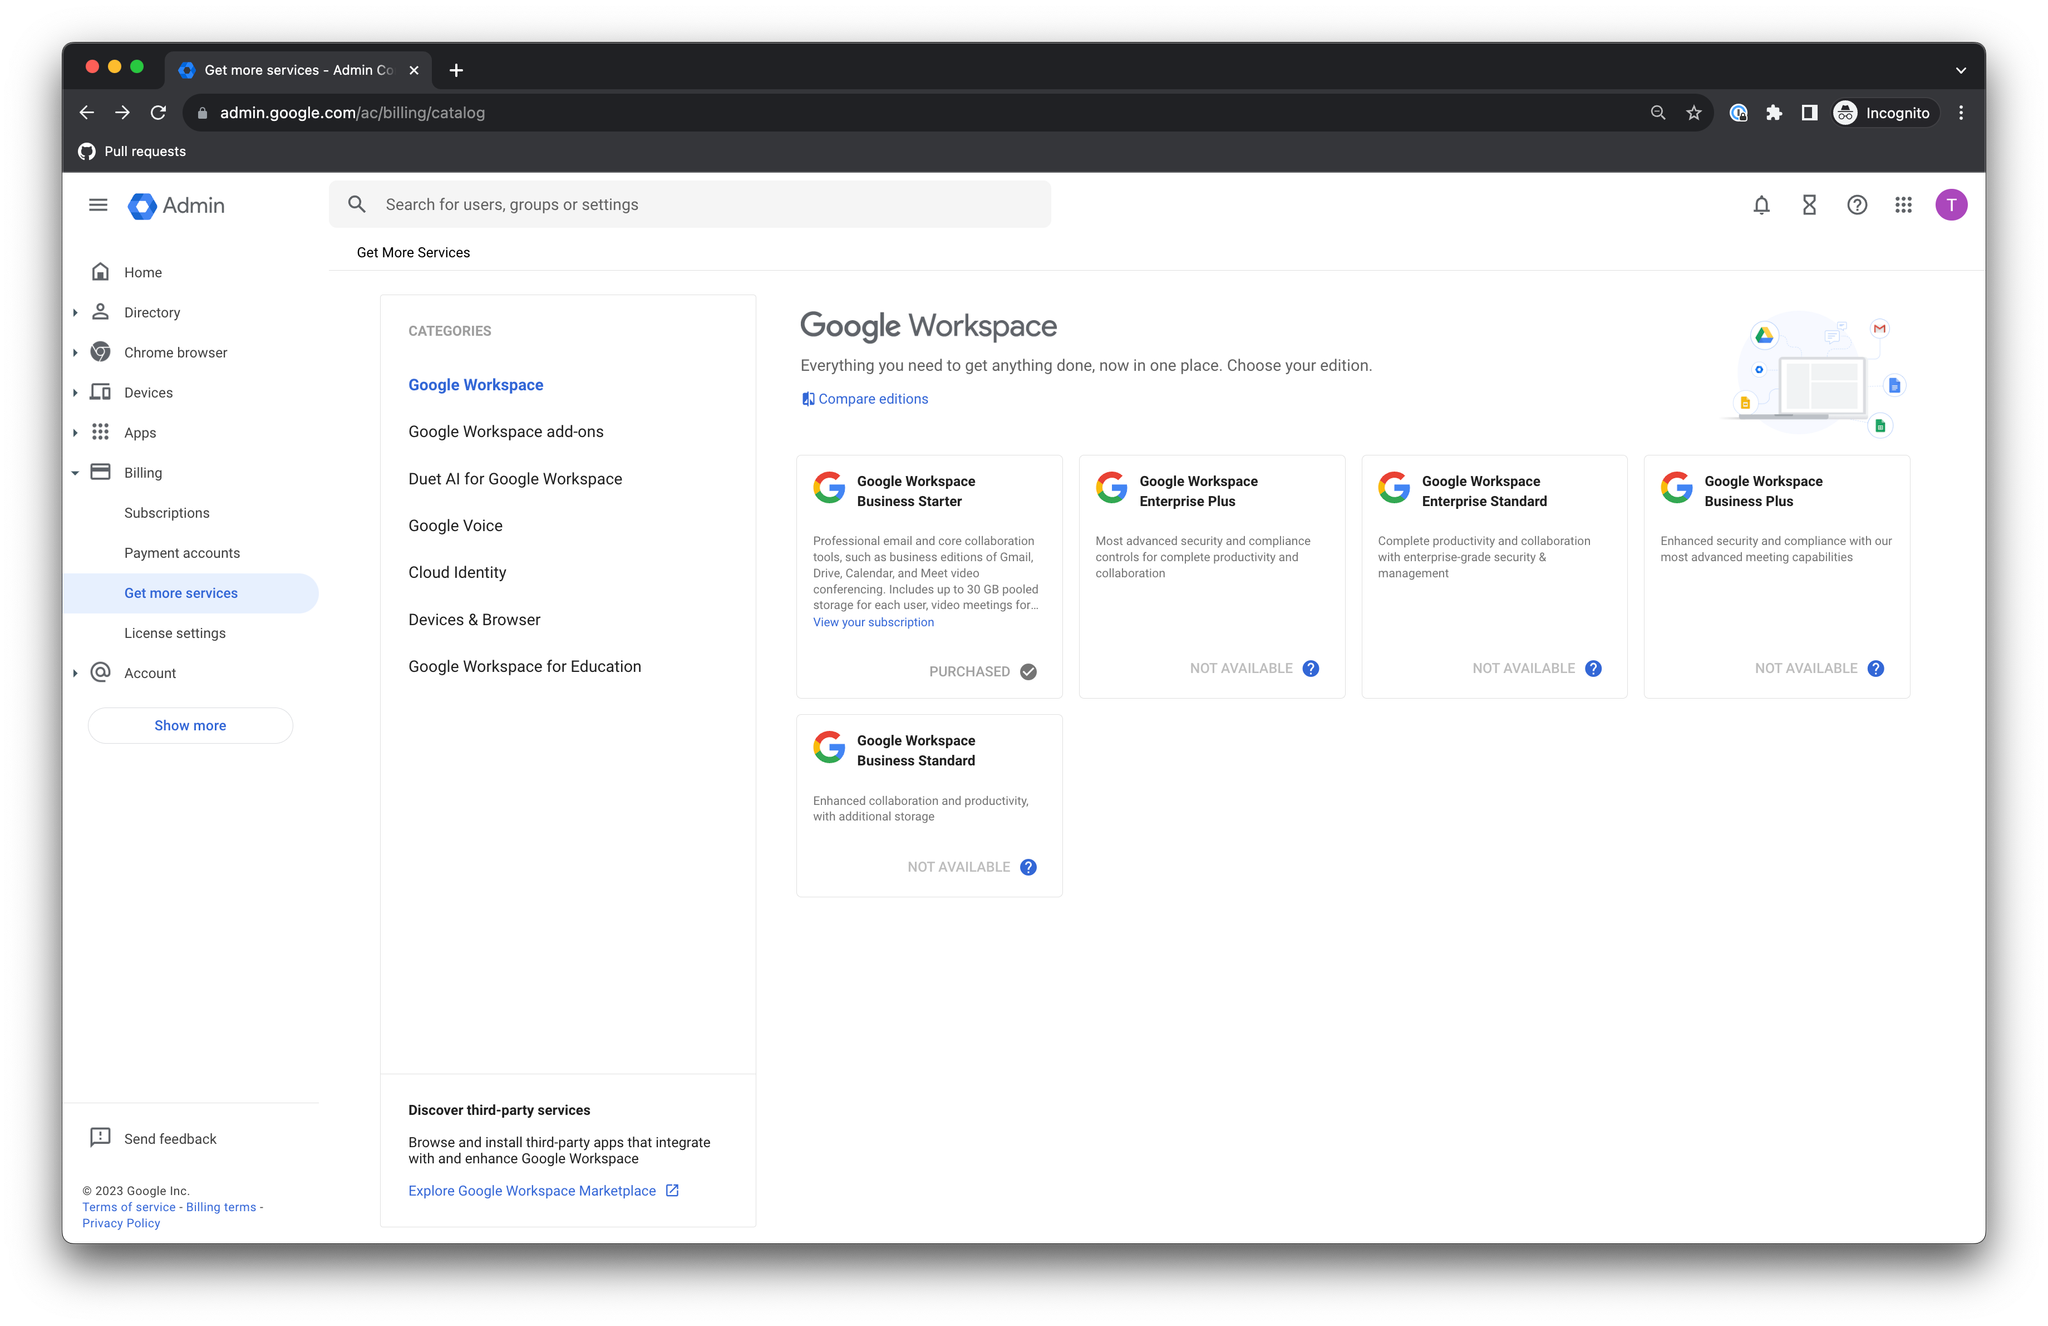
- Select “Devices & Browser”
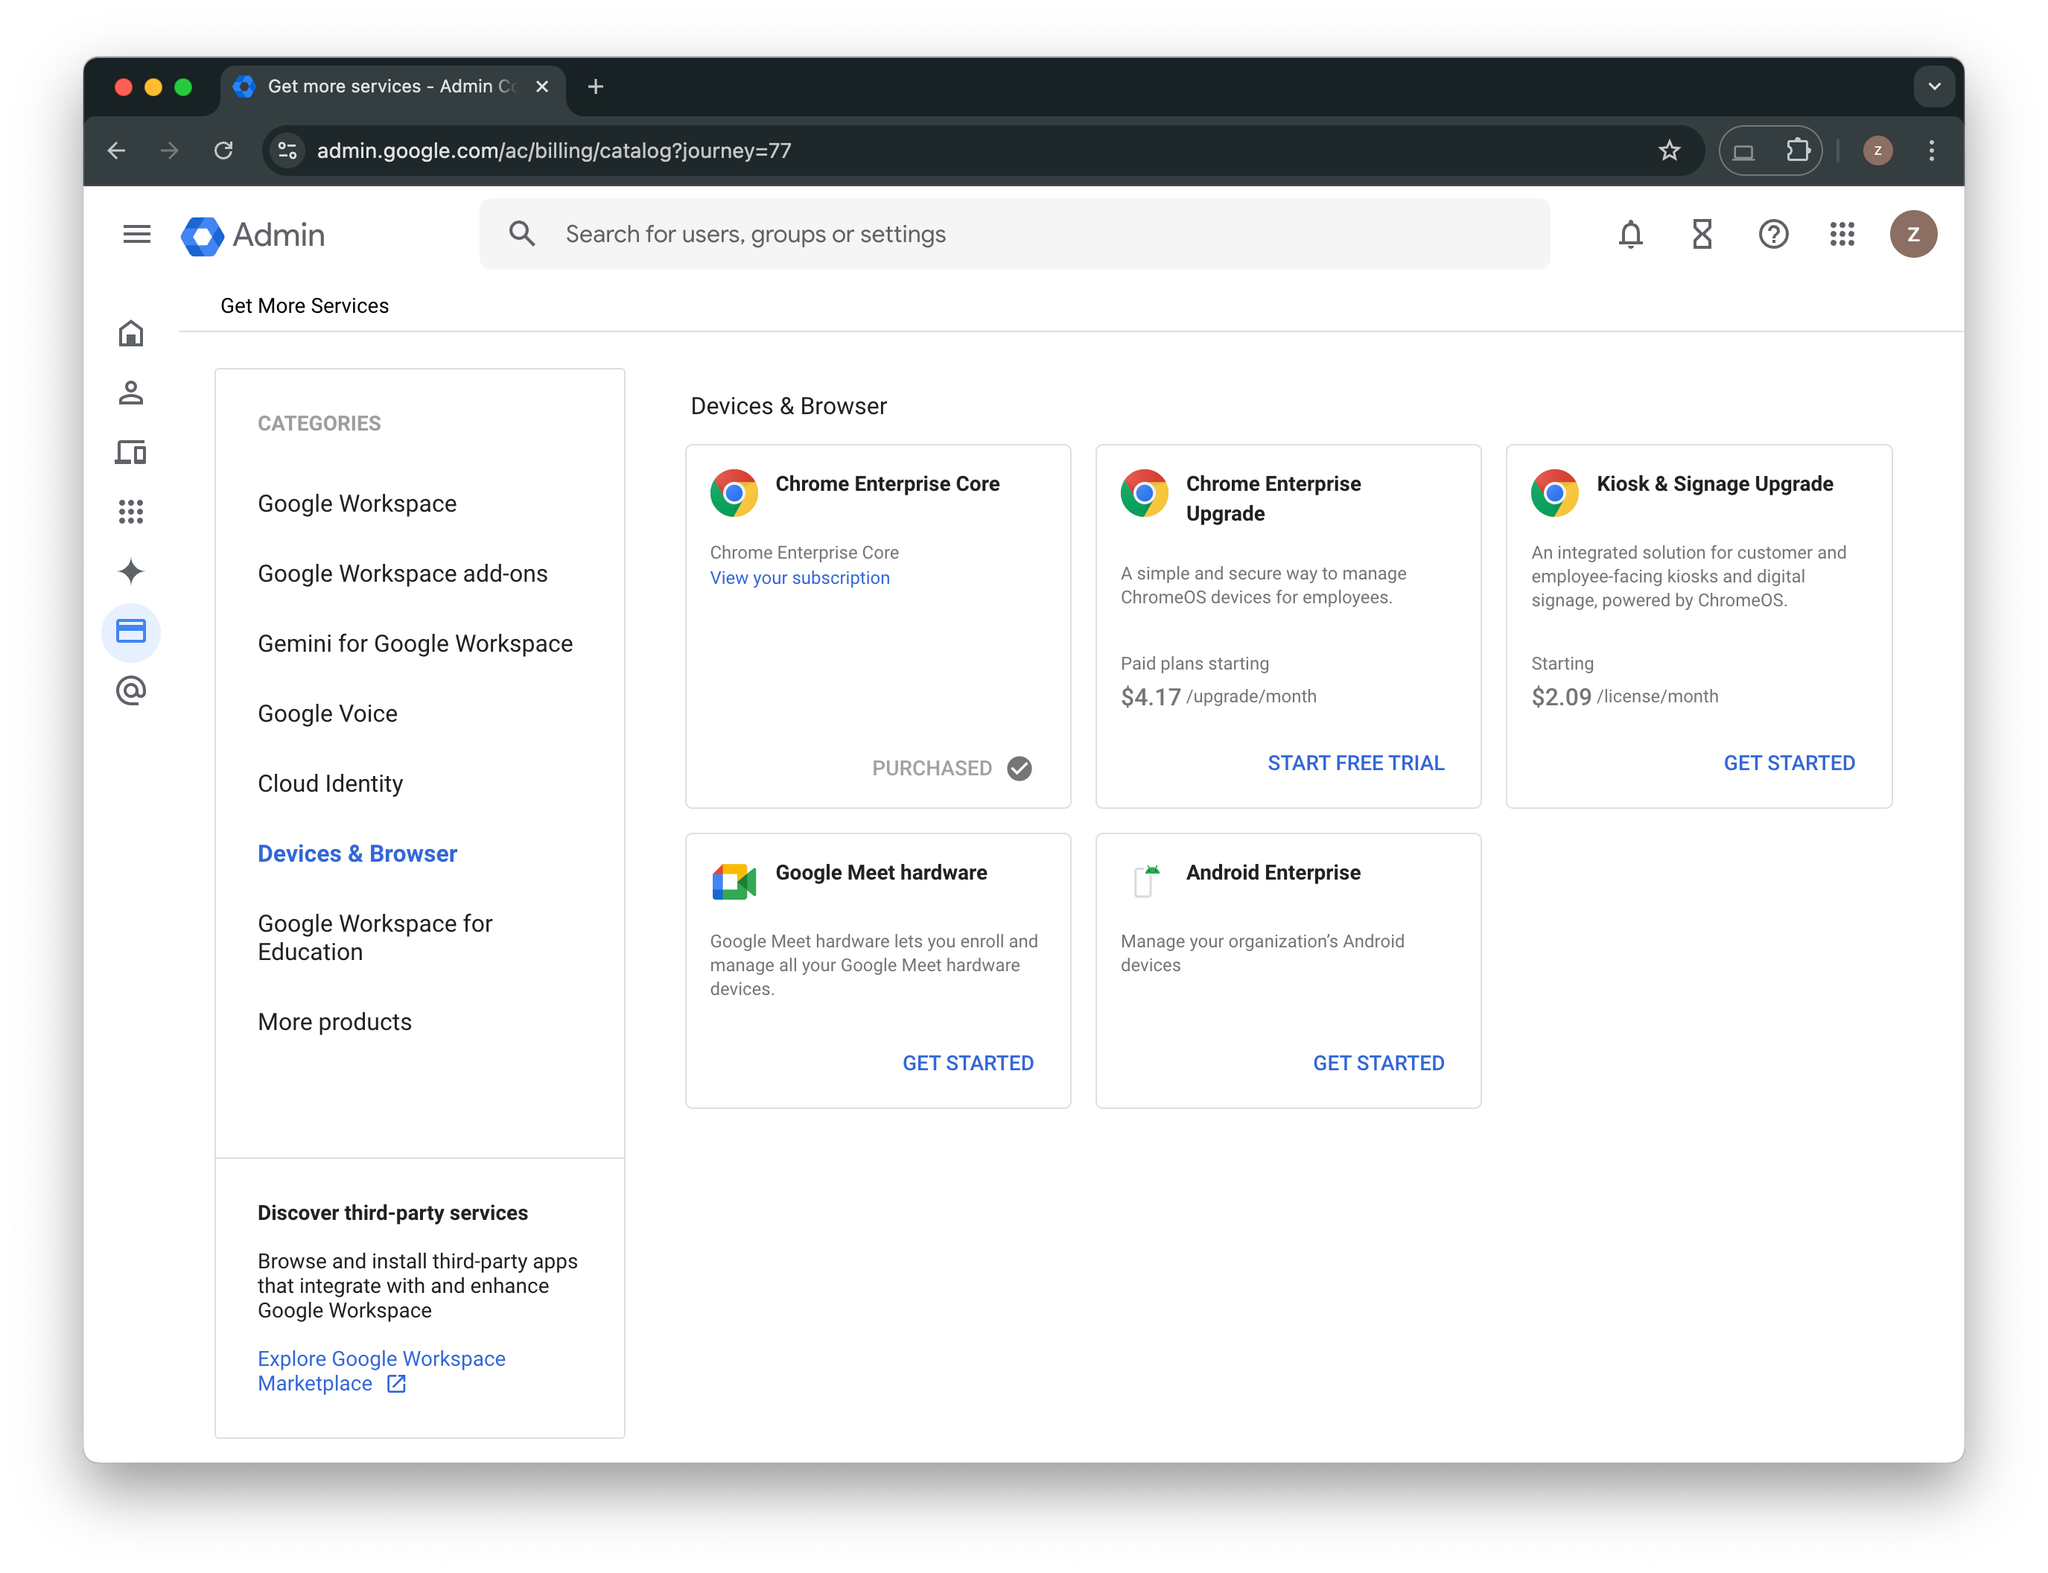
- Enable “Chrome Enterprise Core”
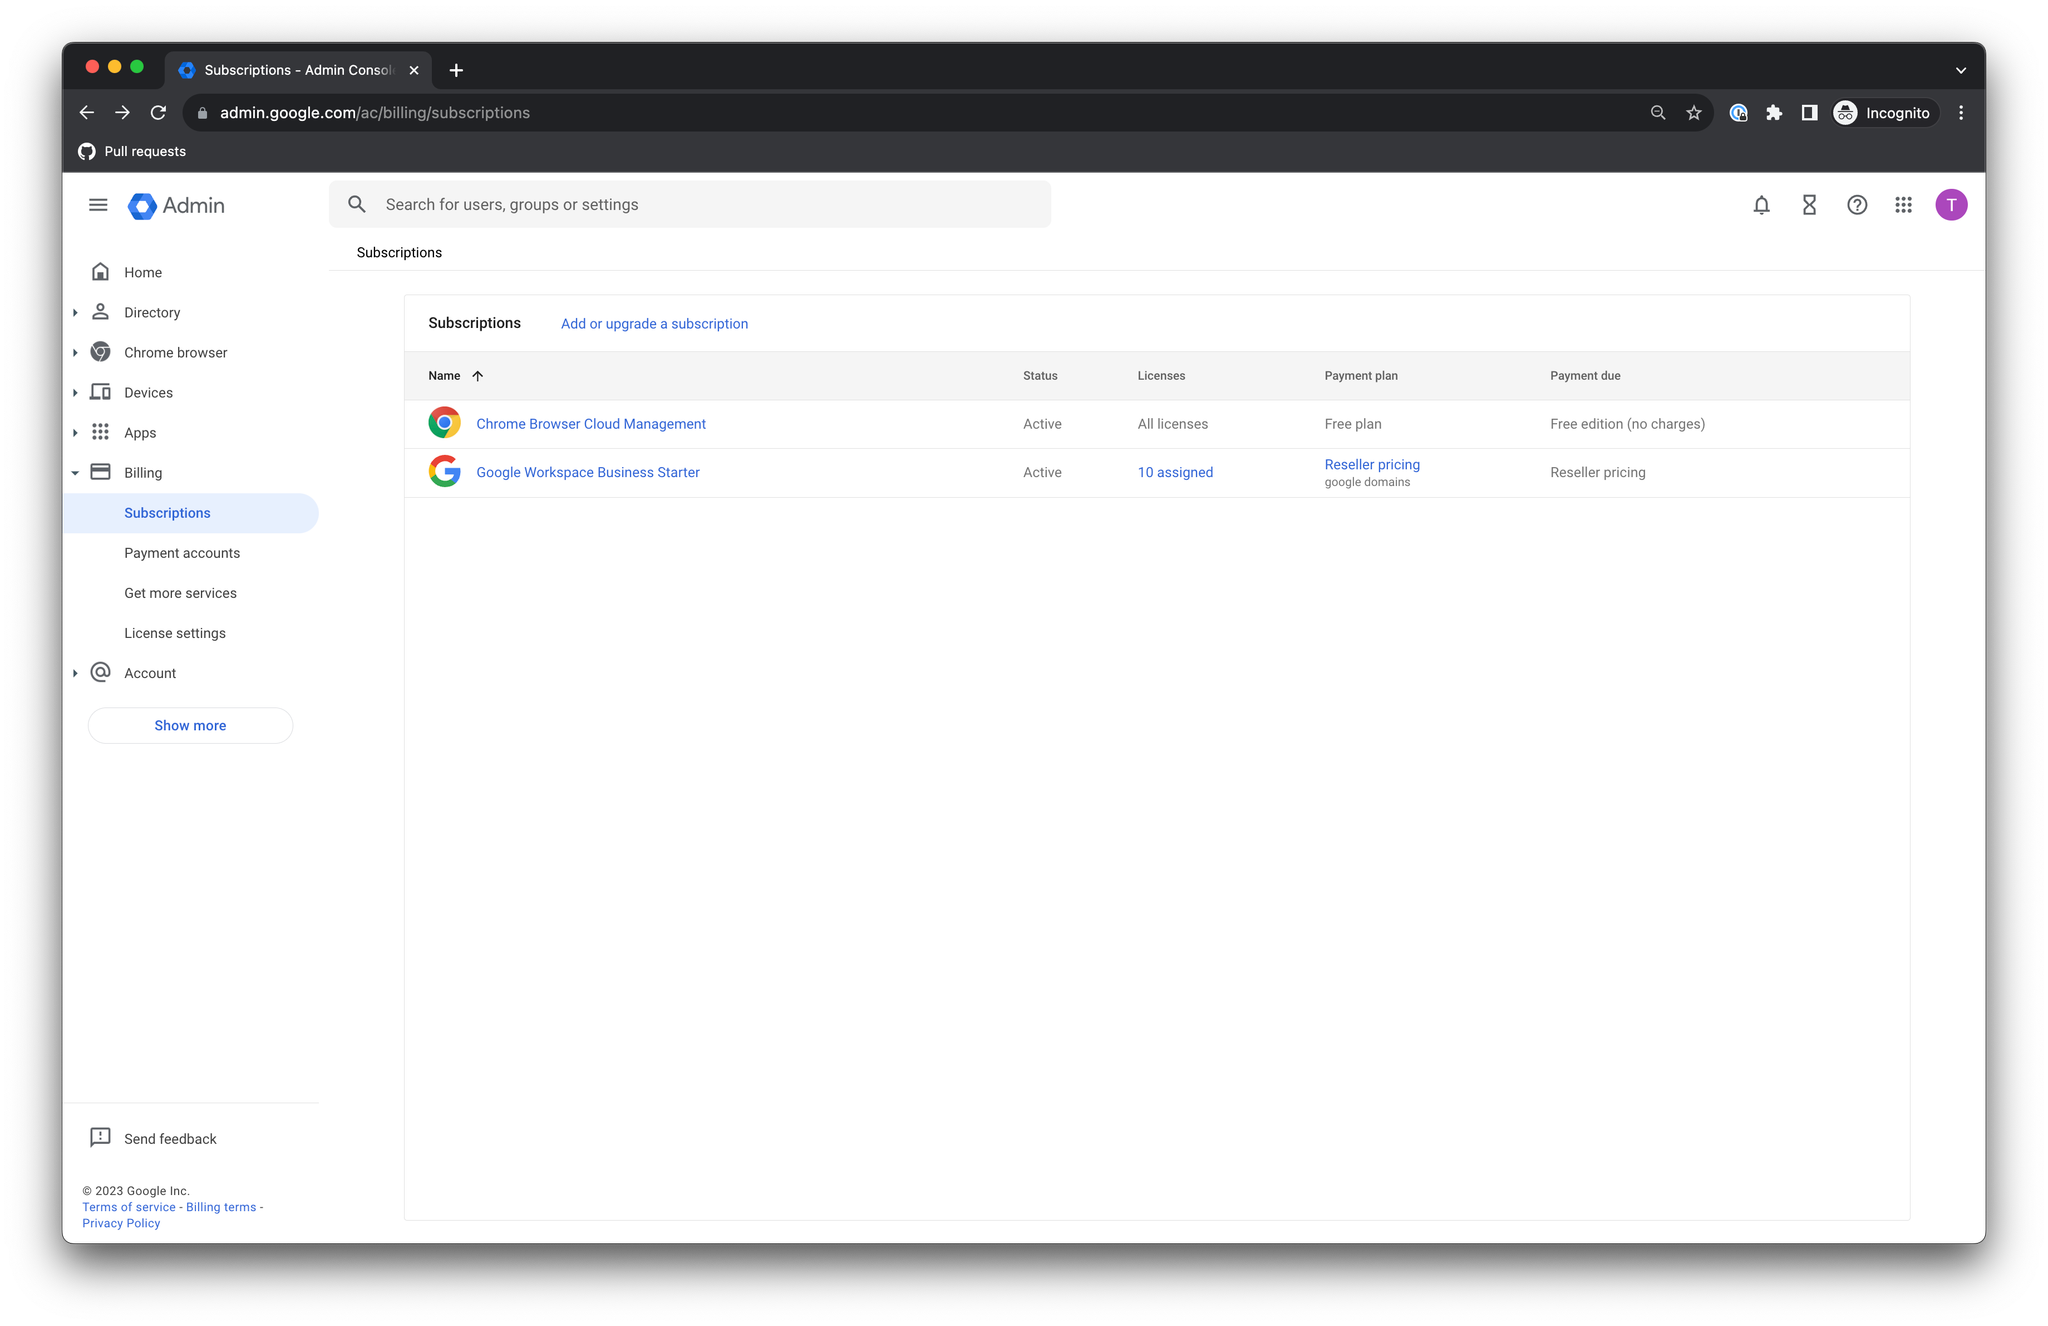
- Return to your subscriptions to confirm that “Chrome Browser Cloud Management” is Active: https://admin.google.com/ac/billing/subscriptions
Part Two: Deploy Endpoint Verification
The instructions below are taken from https://cloud.google.com/endpoint-verification/docs/deploying-with-admin-console.
Before you begin, make sure you have a Google Workspace administrator account with the Service Settings privilege.
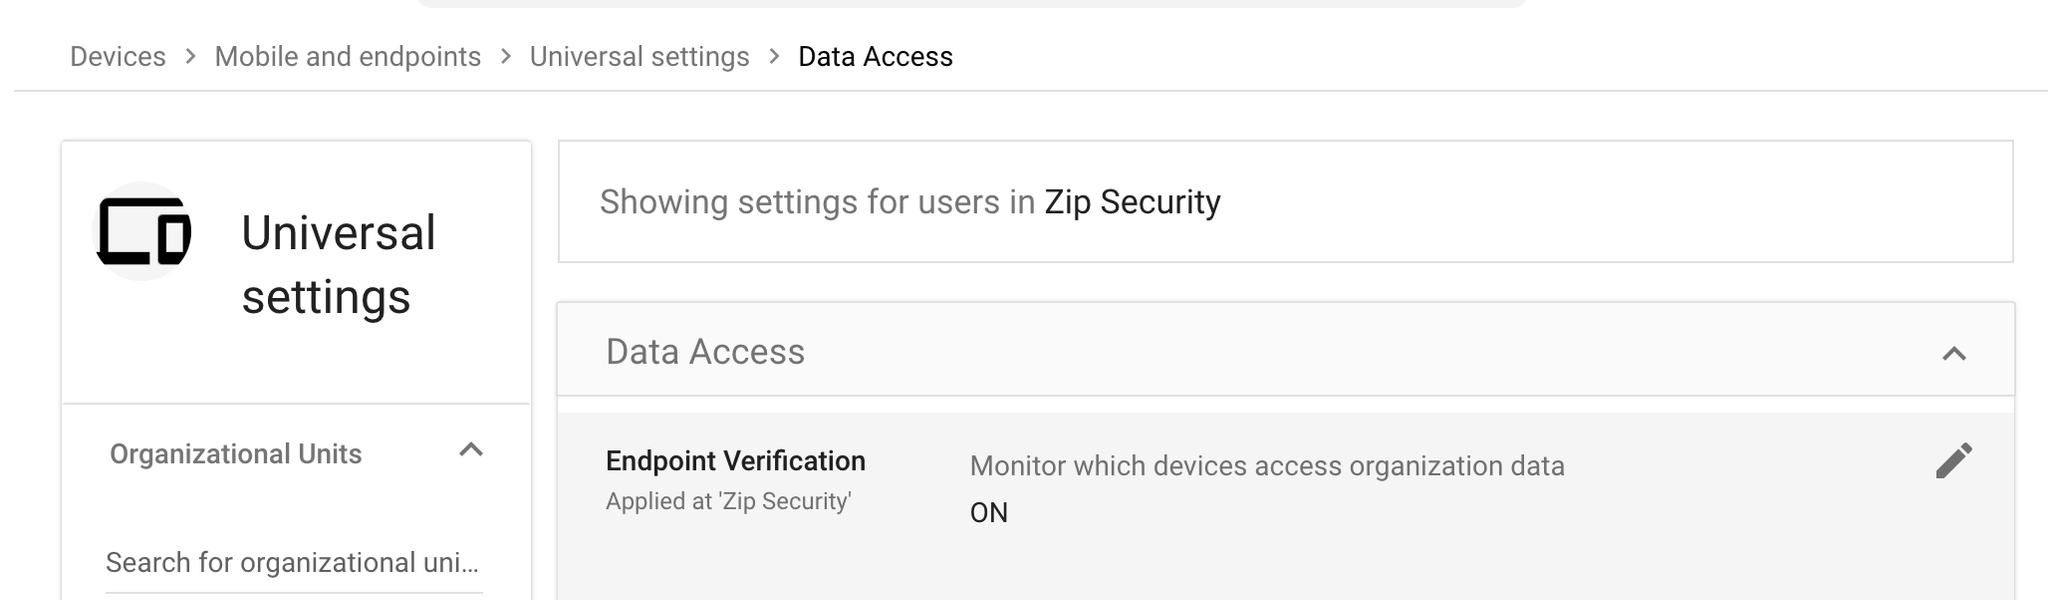
Confirm Endpoint Verification is turned on
Endpoint Verification is turned on by default. To confirm that is still the case:
- Go to the Google Admin console
- Go to Menu > Devices > Mobile & endpoints > Settings > Universal

- Click Data Access > Endpoint Verification
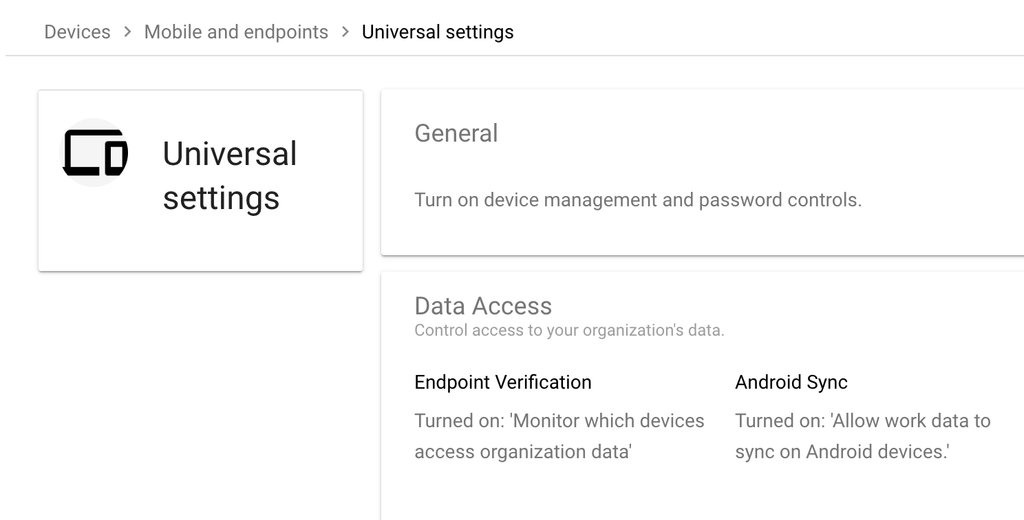
- Ensure that the Monitor which devices access organization data checkbox is ON.
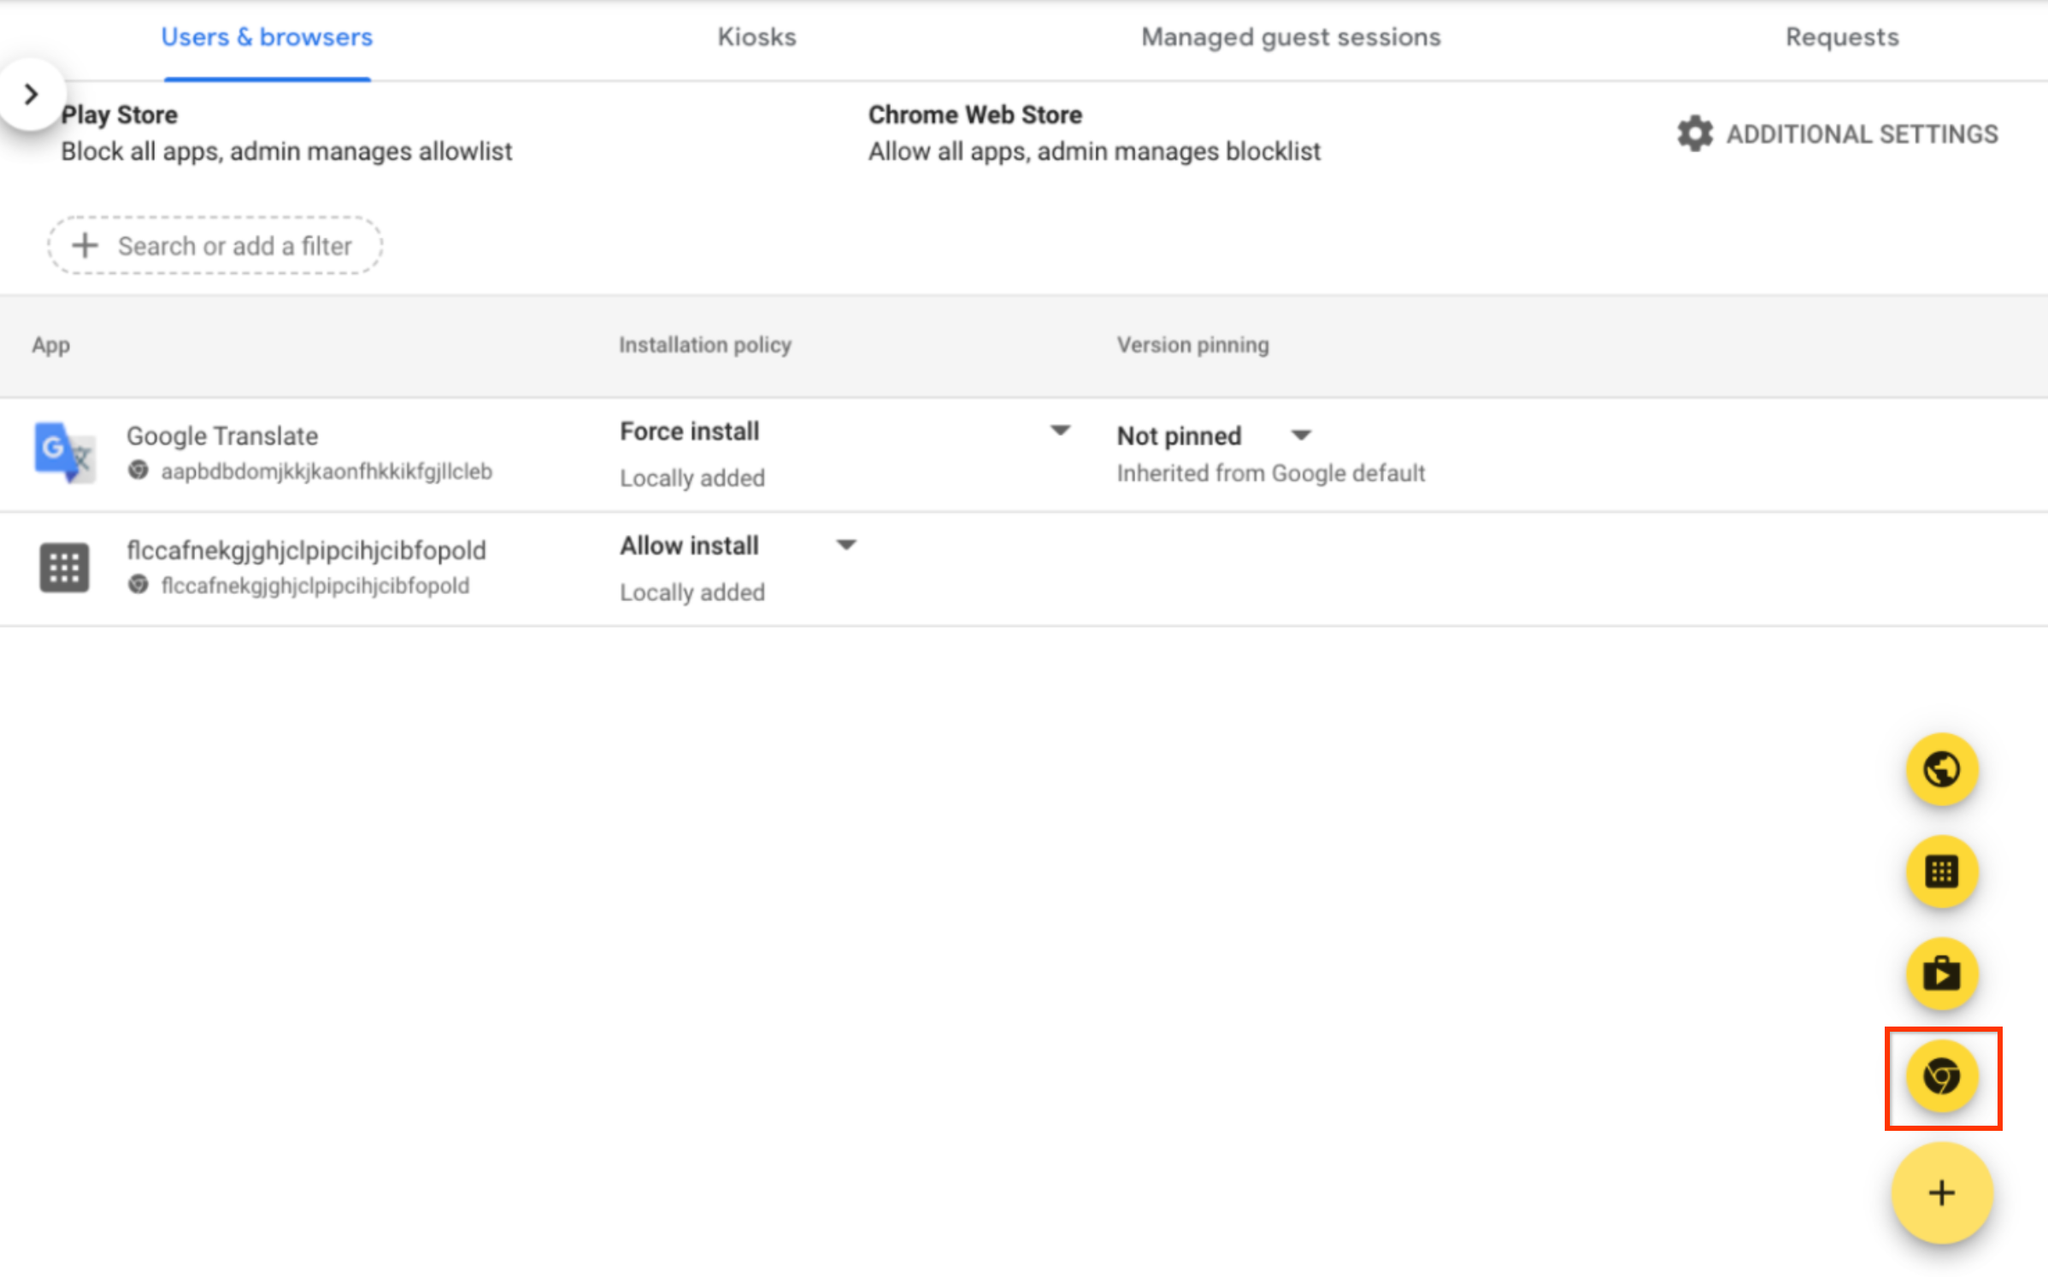
Install Endpoint Verification on Chrome browsers
- Go to the Google Admin console
- Click on the section Users & Browsers
- From the Organizational Units pane on the left side, select the organization unit for which you want to install the Endpoint Verification extension. We recommend selecting the top-level organization unit.
- Hold the pointer over the plus-button on the right side, and click Add from Chrome Web Store.
- In the Search the store field, enter Endpoint Verification.
- Click Endpoint Verification and then click Select.
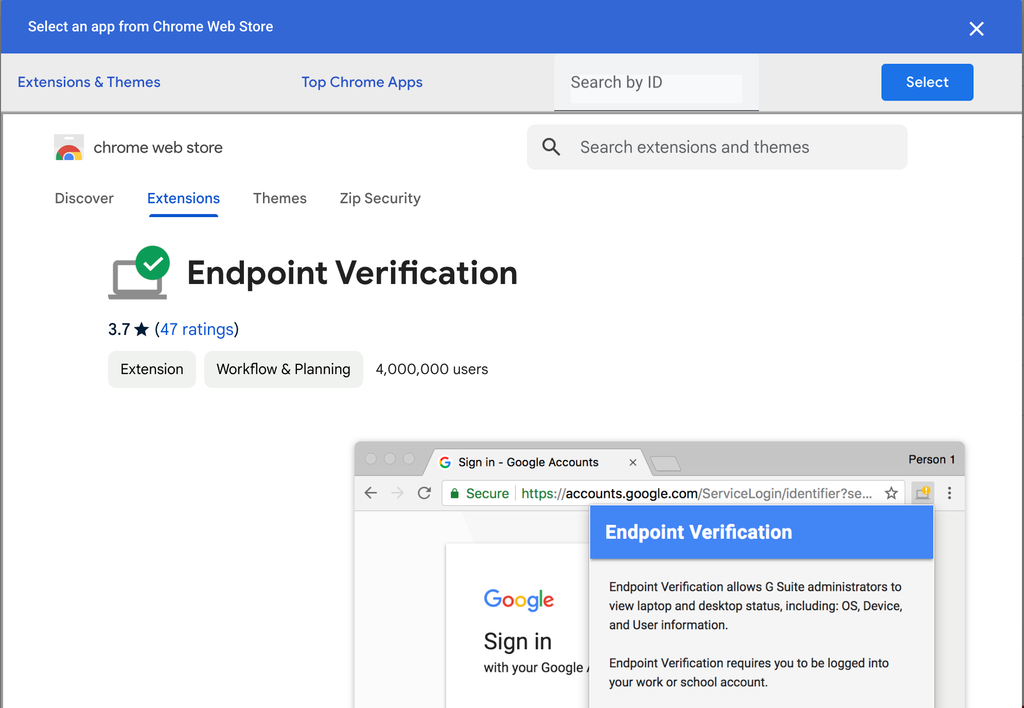
- At the top of the Endpoint Verification side bar, click the Installation policy drop-down, and select Force install.
- Click Save.
Part Three: Turn on Chrome browser reporting
Chrome browser reporting enables you to get more detailed information from managed browsers with endpoint verification installed.
The instructions below are taken from https://support.google.com/chrome/a/answer/9301421.
- Go to the Google Admin console
- If you signed up for Chrome Enterprise Core, go to Menu > Chrome browser > Settings, otherwise Go to Menu > Devices > Chrome > Settings. The User & browser settings page opens by default.
- In the left-hand side under ‘Settings’, select your top-level organizational unit, so that all child organizations will inherit the policy.
- In User & browser settings, search for Browser reporting. Click Managed browser reporting.
- Under configuration, select Enable managed browser cloud reporting.
- Click Save.
- In User & browser settings, still under Browser reporting, click Managed browser reporting upload frequency.
- Set the upload frequency in hours to 3.
- Click Save.
Part Four: Update permissions for the Google Device Management Integration
If you have not already set up the Zip Security & Google Device Management Integration, you can follow the instructions in the parent page here to add the new provider.
If you have already configured the provider, make sure you have added the permissions that are required for Chrome browser management.
Part Five: Enforce the Chrome Browser Management control in the Zip Console
Go to the settings page to enable the Chrome Browser Management module, then proceed to the Chrome Browser Management control to enroll browsers on managed devices.