
Google Device Management is used to manage Chrome Browsers and link browsers to devices, as well as to get basic information about managed devices.
1. Setting up the Google Cloud Console
If you already set up a project when setting up the Google Workspace Identity integration, then you can proceed to section 2.
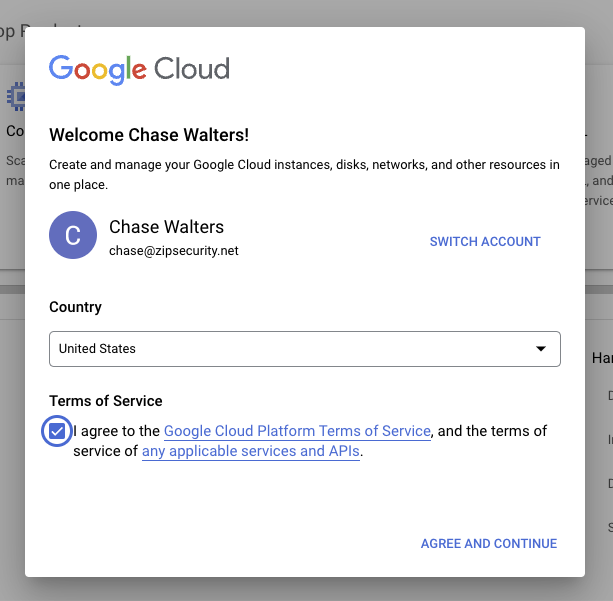
- Navigate to https://console.cloud.google.com. If you’ve never logged in before, you will see a pop-up asking you to agree to the terms of service. You can click “agree and continue.”
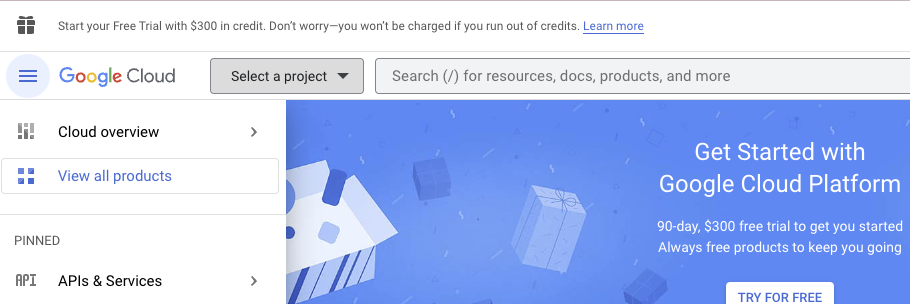
2. Next, select the “Select a project” dropdown.
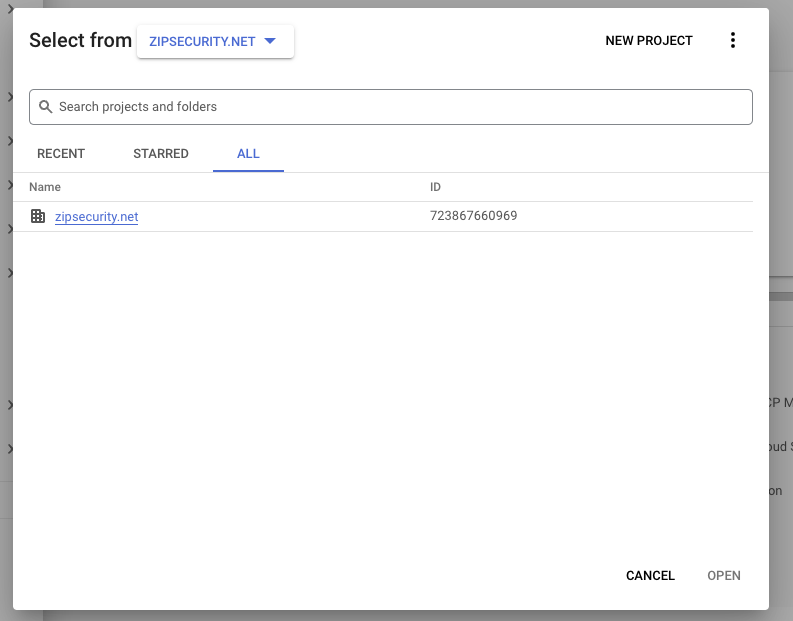
3. Change the selector to your organization from “no organization”. Our sample organization is zipsecurity.net. Your organization will likely be named after your primary domain. Once you select your organization, click the “NEW PROJECT” button. You may have to refresh the page to get the drop-down.
You may need to complete the initial steps of the Google Cloud Organization setup process (Dashboard → Left side menu → IAM & Admin → Identity & Organization) for the Workspace → Cloud organization to be created. Completing step 1, “Enable Cloud Identity and create an organization” should be sufficient.
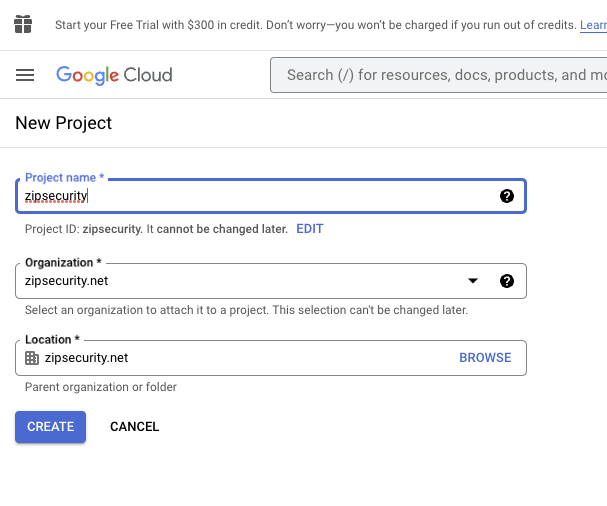
- You will be taken to the below screen. All you should have to fill out is the “project name” field. Name the project “zipsecurity” and then press CREATE.
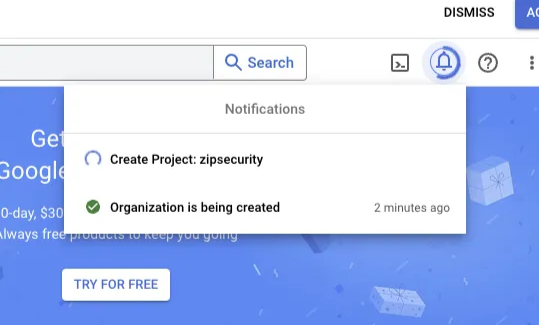
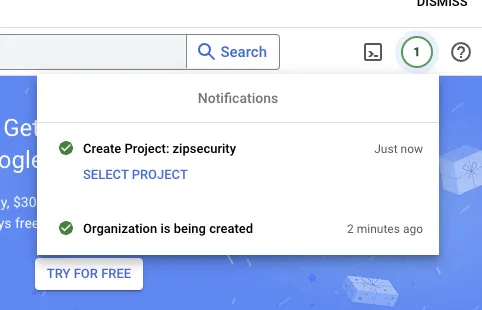
- Once you create the project, you should see the following loading screens. Once the project is created, select “SELECT PROJECT.”
2. Enabling APIs
- Navigate to https://console.cloud.google.com. In the drop-down on the top left of the screen, navigate to the project that you created in part one.
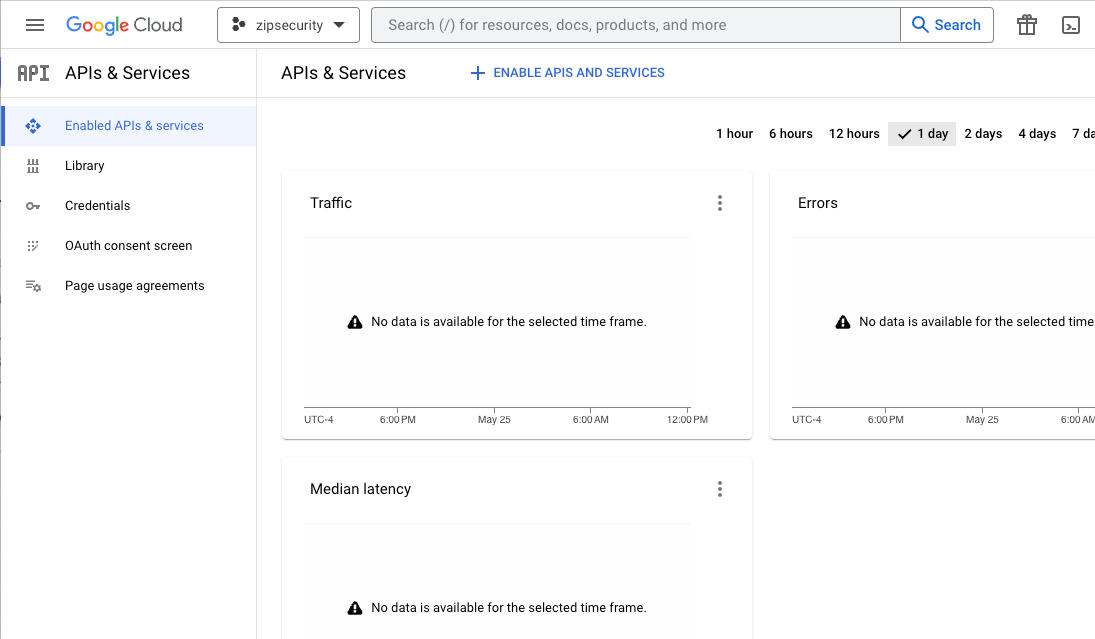
- Next, you are going to enable the Admin SDK & Cloud Identity APIs for the project. If you are going to manage Chrome browsers, then you are also going to enable to Chrome Policy and Chrome Management APIs. To do this, in the left hand sidebar click “Enabled APIs & services” and select the blue “+ ENABLE APIs & SERVICES” button under the search bar.
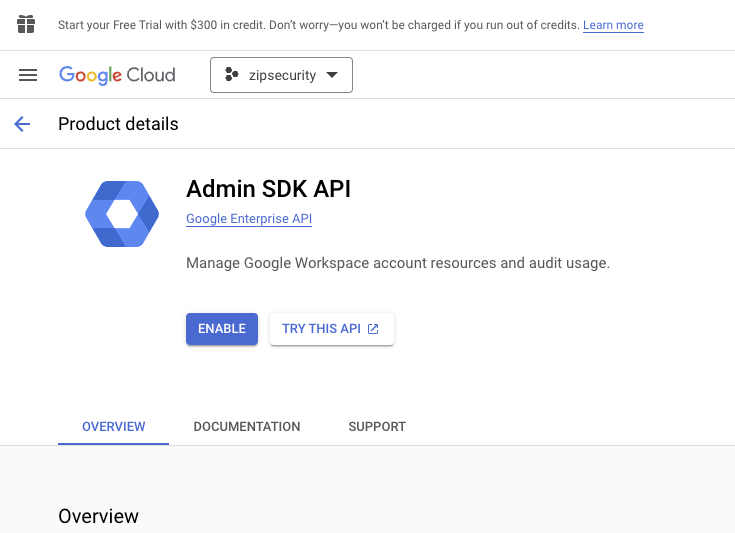
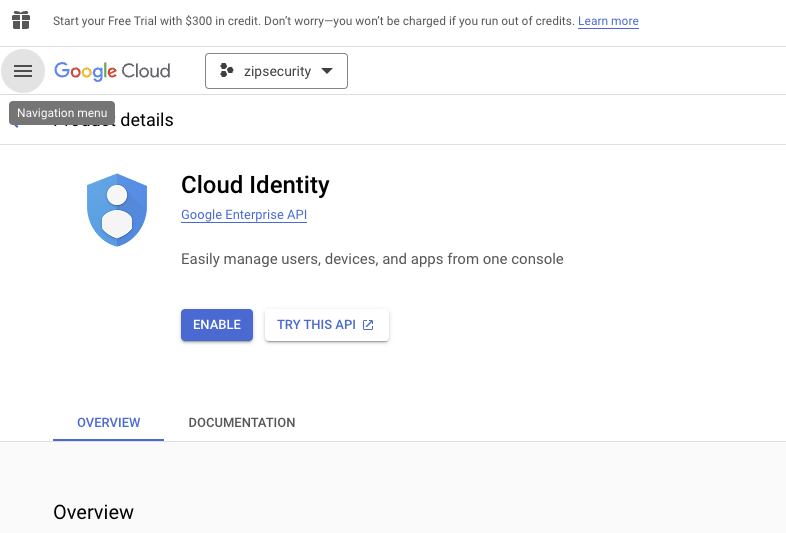
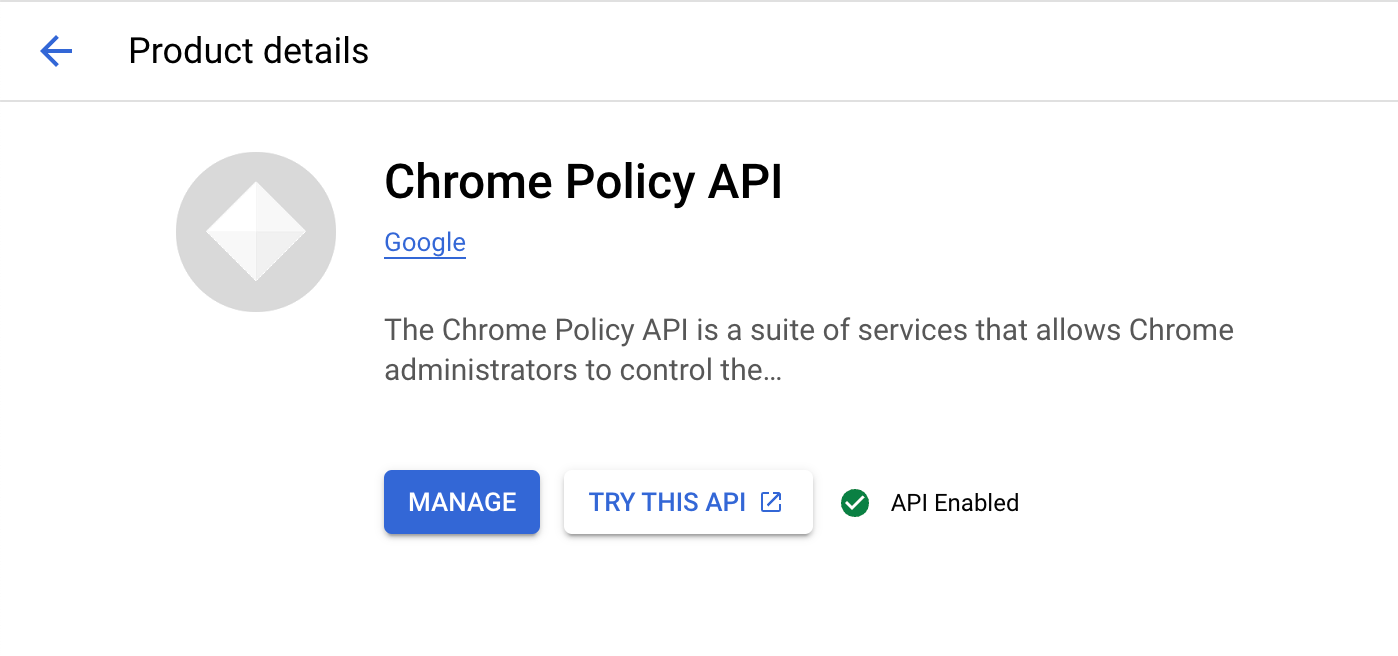
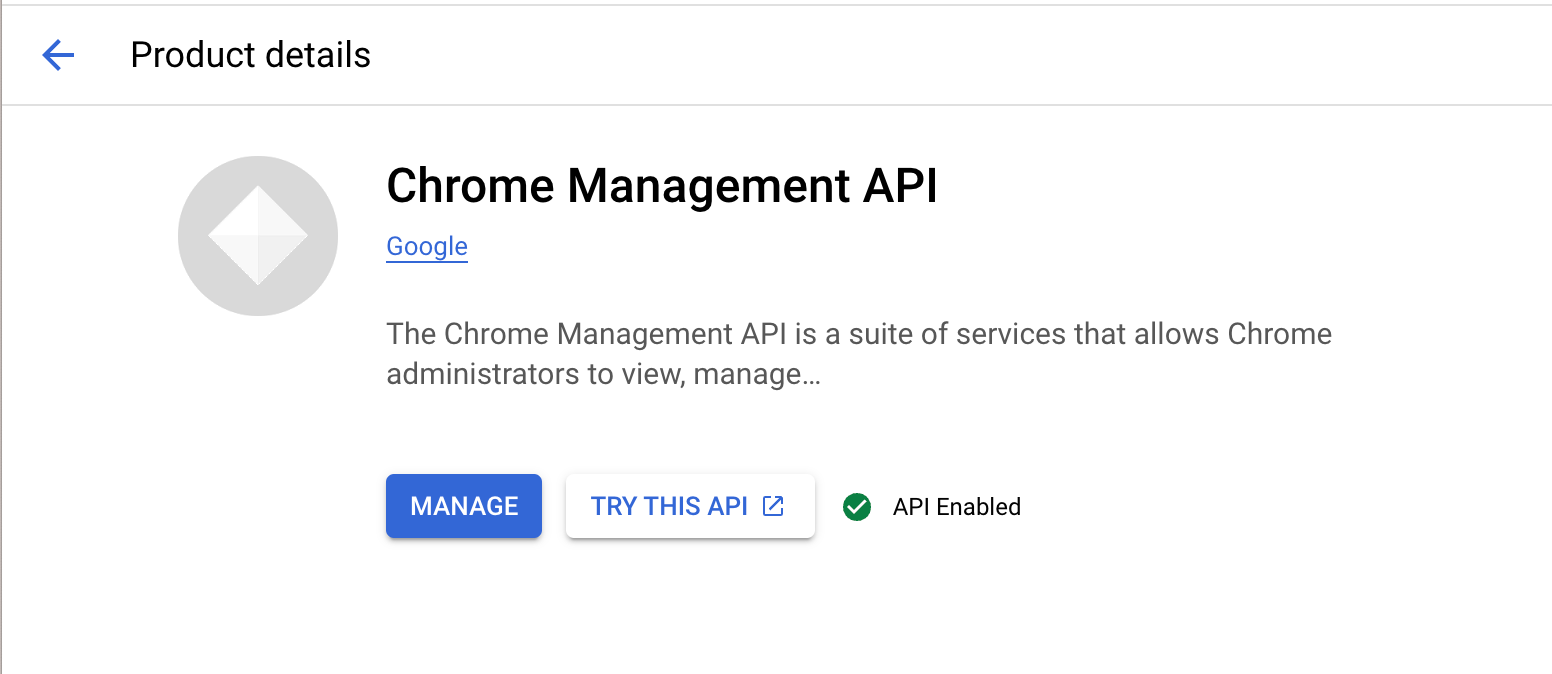
- Search for the Admin SDK API & enable it. Repeat the process for the Cloud Identity API, and for the Chrome Policy API and the Chrome Management API if you are going to manage Chrome browsers.
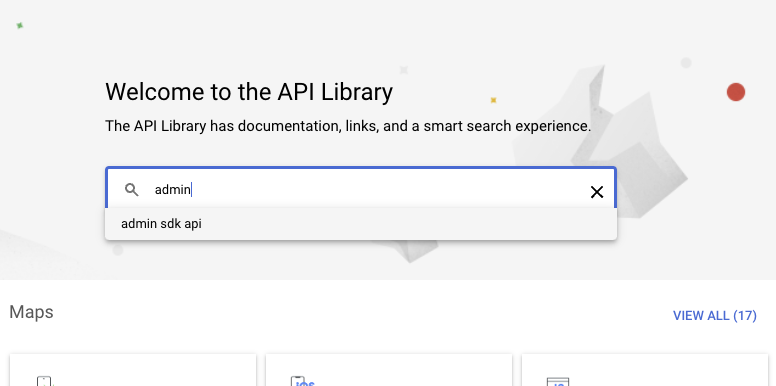
The APIs to enable look like this:
3. Creating Service Accounts
Now that you have created a project and enabled the APIs, you can move on to creating a service account.
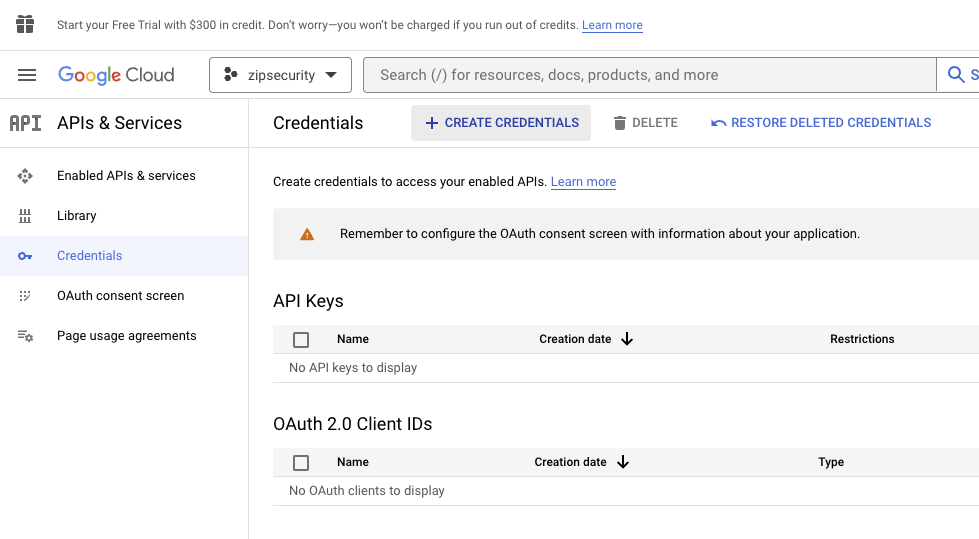
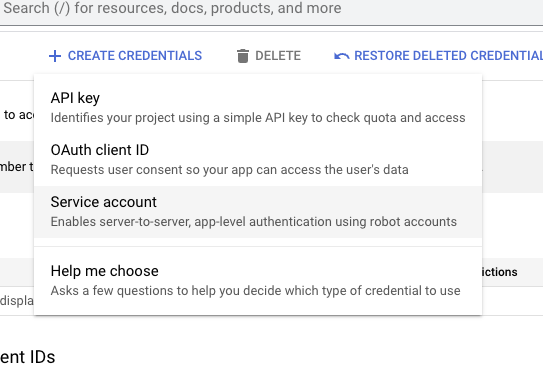
- Create a service account by navigating to “Credentials” in the left-hand sidebar and then clicking the “CREATE CREDENTIALS” button, selecting the “Service account” option
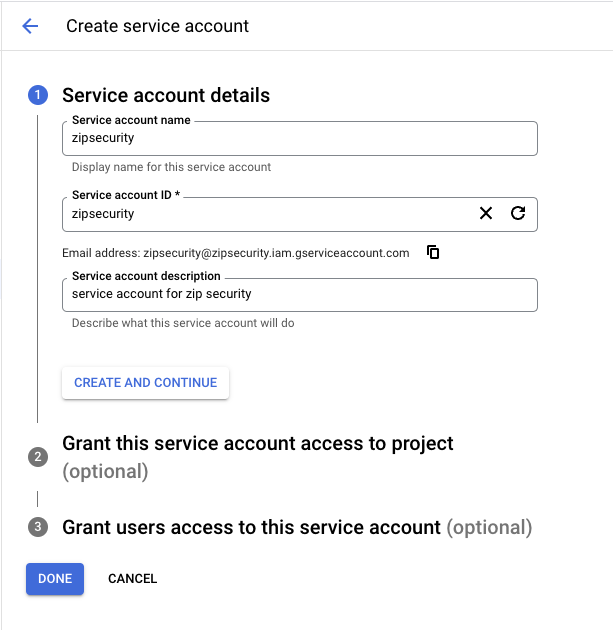
- You will be taken to a screen where you can name and configure the service account. Name the service account “Zip Security Device Management” and add an optional description (everything else should auto-fill) and press “Create and continue”
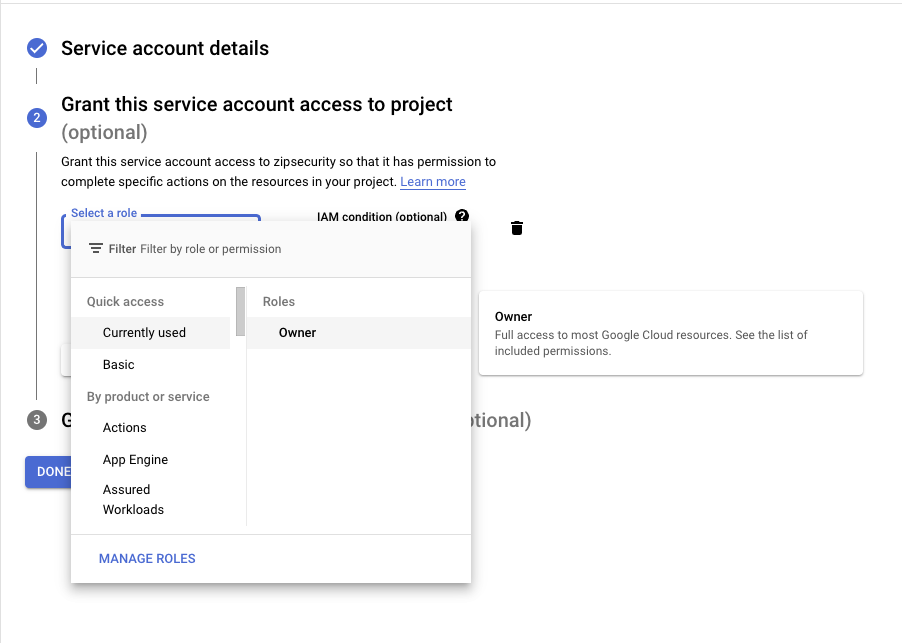
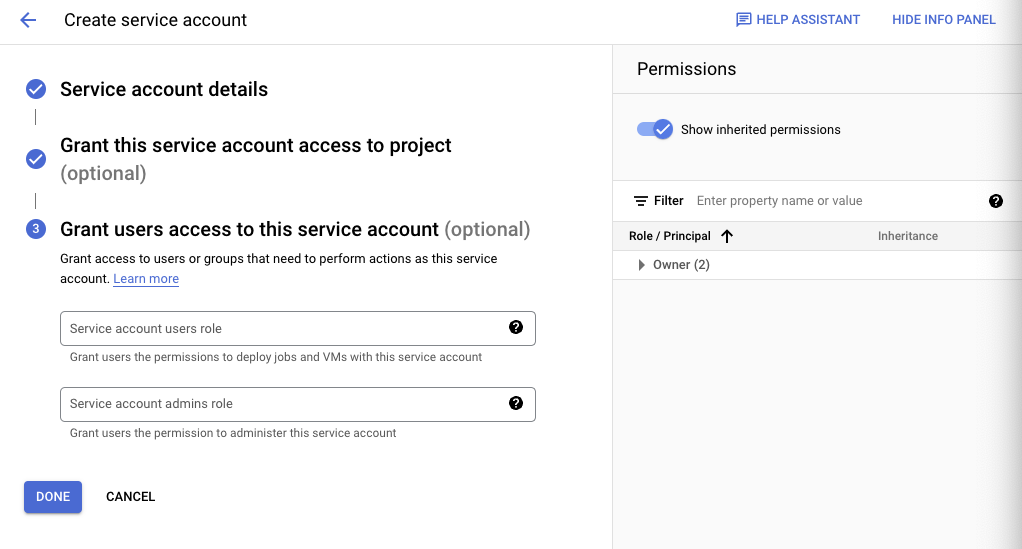
- Grant the service account “Owner” on the project and then select “Continue”
- You can skip the last prompt — we don’t need to configure the optional attributes. Select “DONE”
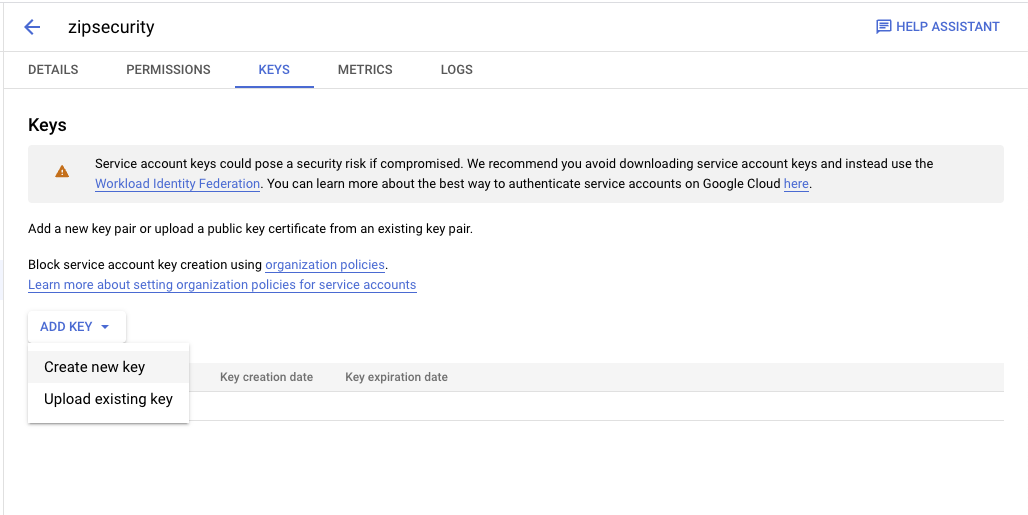
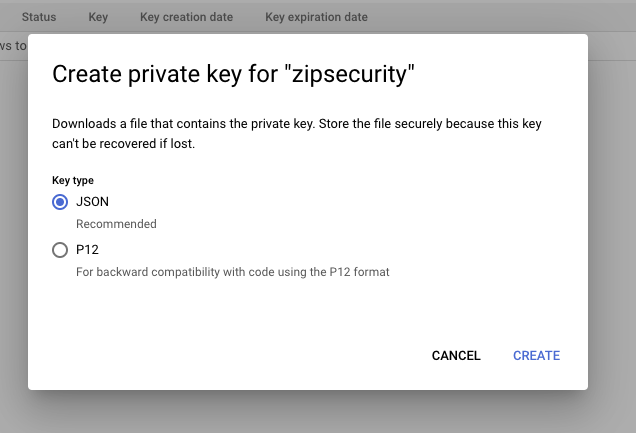
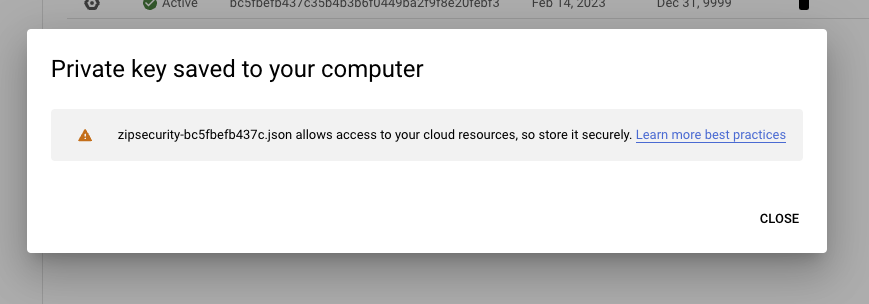
- You should now see the service account is active. Click on the service account, then navigate to the “Keys” tab to make a new credential and export that credential as a JSON. You will need the exported file again in step #4. You should see the following screens
- Finally, navigate back to to “Details” tab. Copy the Unique ID field into your clipboard for the next step.
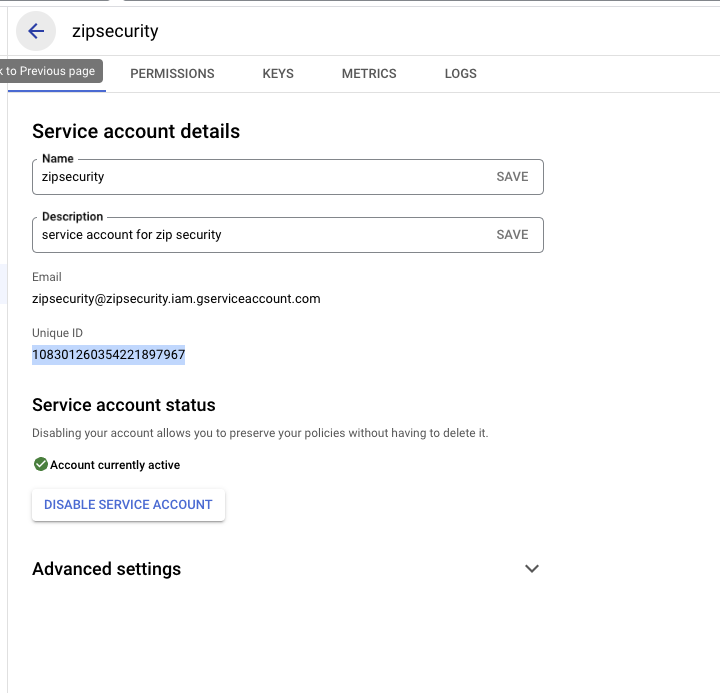
4. Granting permissions to the Zip Service Account
Almost there! Now we have to grant the service account access to certain scopes.
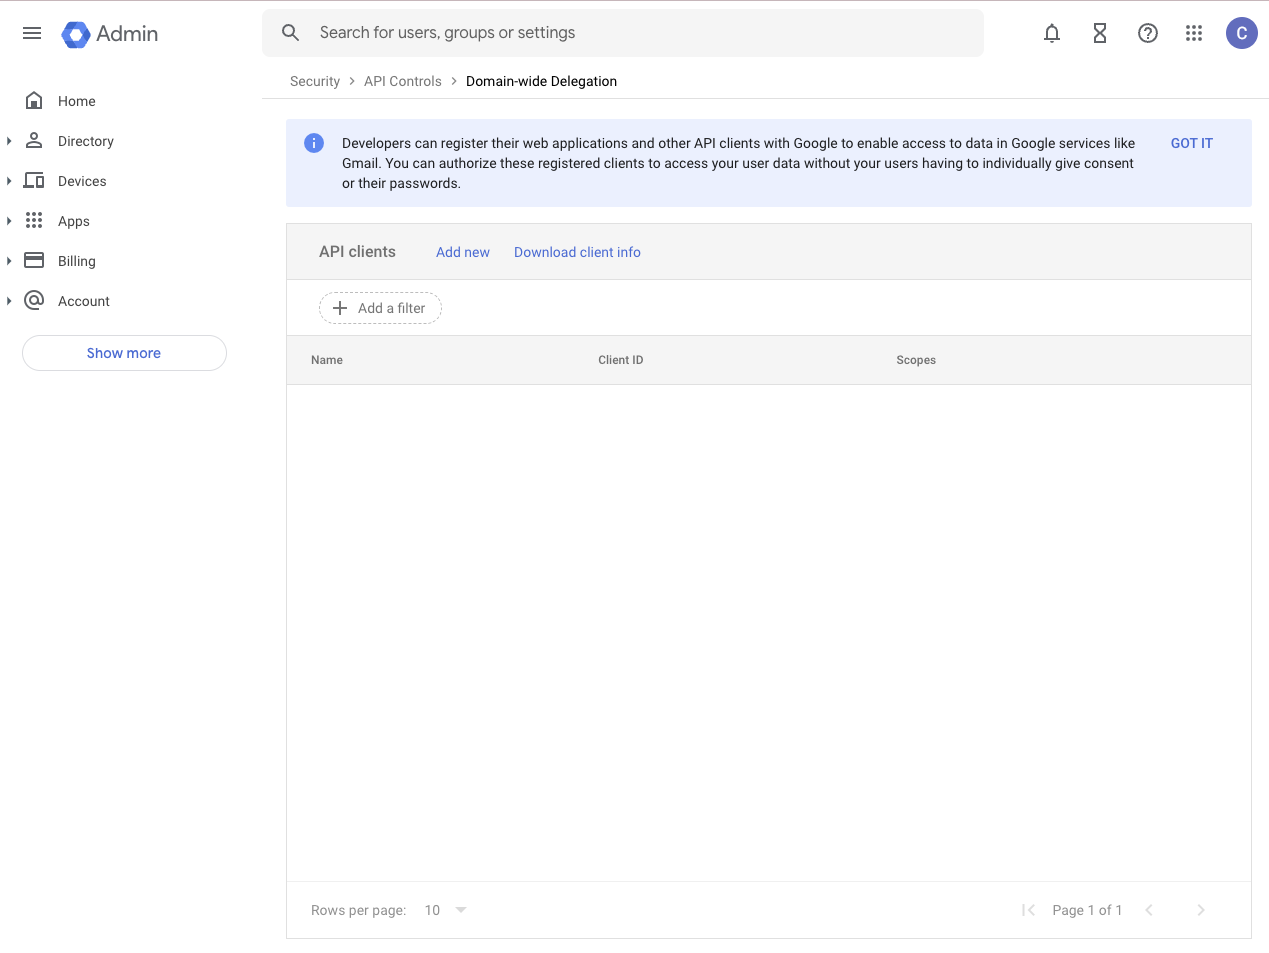
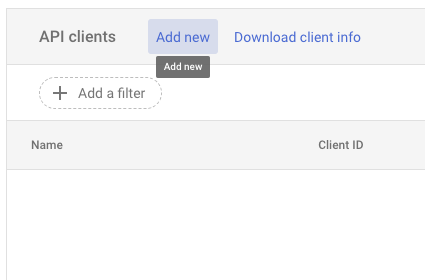
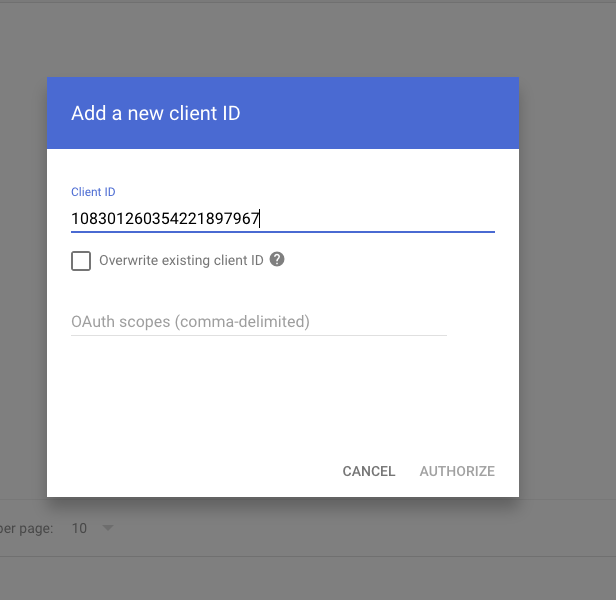
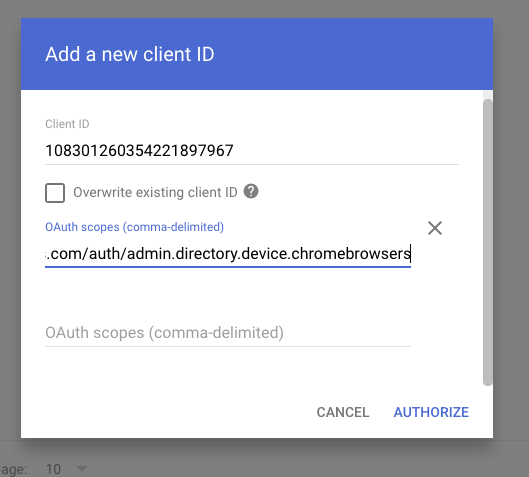
Go to https://admin.google.com/ac/owl/domainwidedelegation and click “Add new”. Paste the Unique ID you just copied in step 2.6 into the ClientID field, and then paste the following scopes into the “scopes” tab. You can see this flow in the screenshots below. Please note that it can take a few minutes for permissions changes to take affect, so if you’re adding new permissions to an existing provider registration you may need to wait about 15 minutes prior to retrying the action.
plain texthttps://www.googleapis.com/auth/cloud-identity.devices.readonly,
https://www.googleapis.com/auth/admin.directory.device.mobile.readonly,
https://www.googleapis.com/auth/admin.directory.device.chromeos.readonly,
These scopes are also required specifically for Chrome browser management:
plain texthttps://www.googleapis.com/auth/admin.directory.device.chromebrowsers,
https://www.googleapis.com/auth/chrome.management.policy,
https://www.googleapis.com/auth/chrome.management.appdetails.readonly,
https://www.googleapis.com/auth/admin.directory.customer.readonly,
https://www.googleapis.com/auth/admin.directory.domain.readonly,
https://www.googleapis.com/auth/cloud-identity.groups
On the Domain-wide Delegation page, click Add new next to API clients.
Paste your service account’s Unique ID and the scopes listed above, separated by commas.
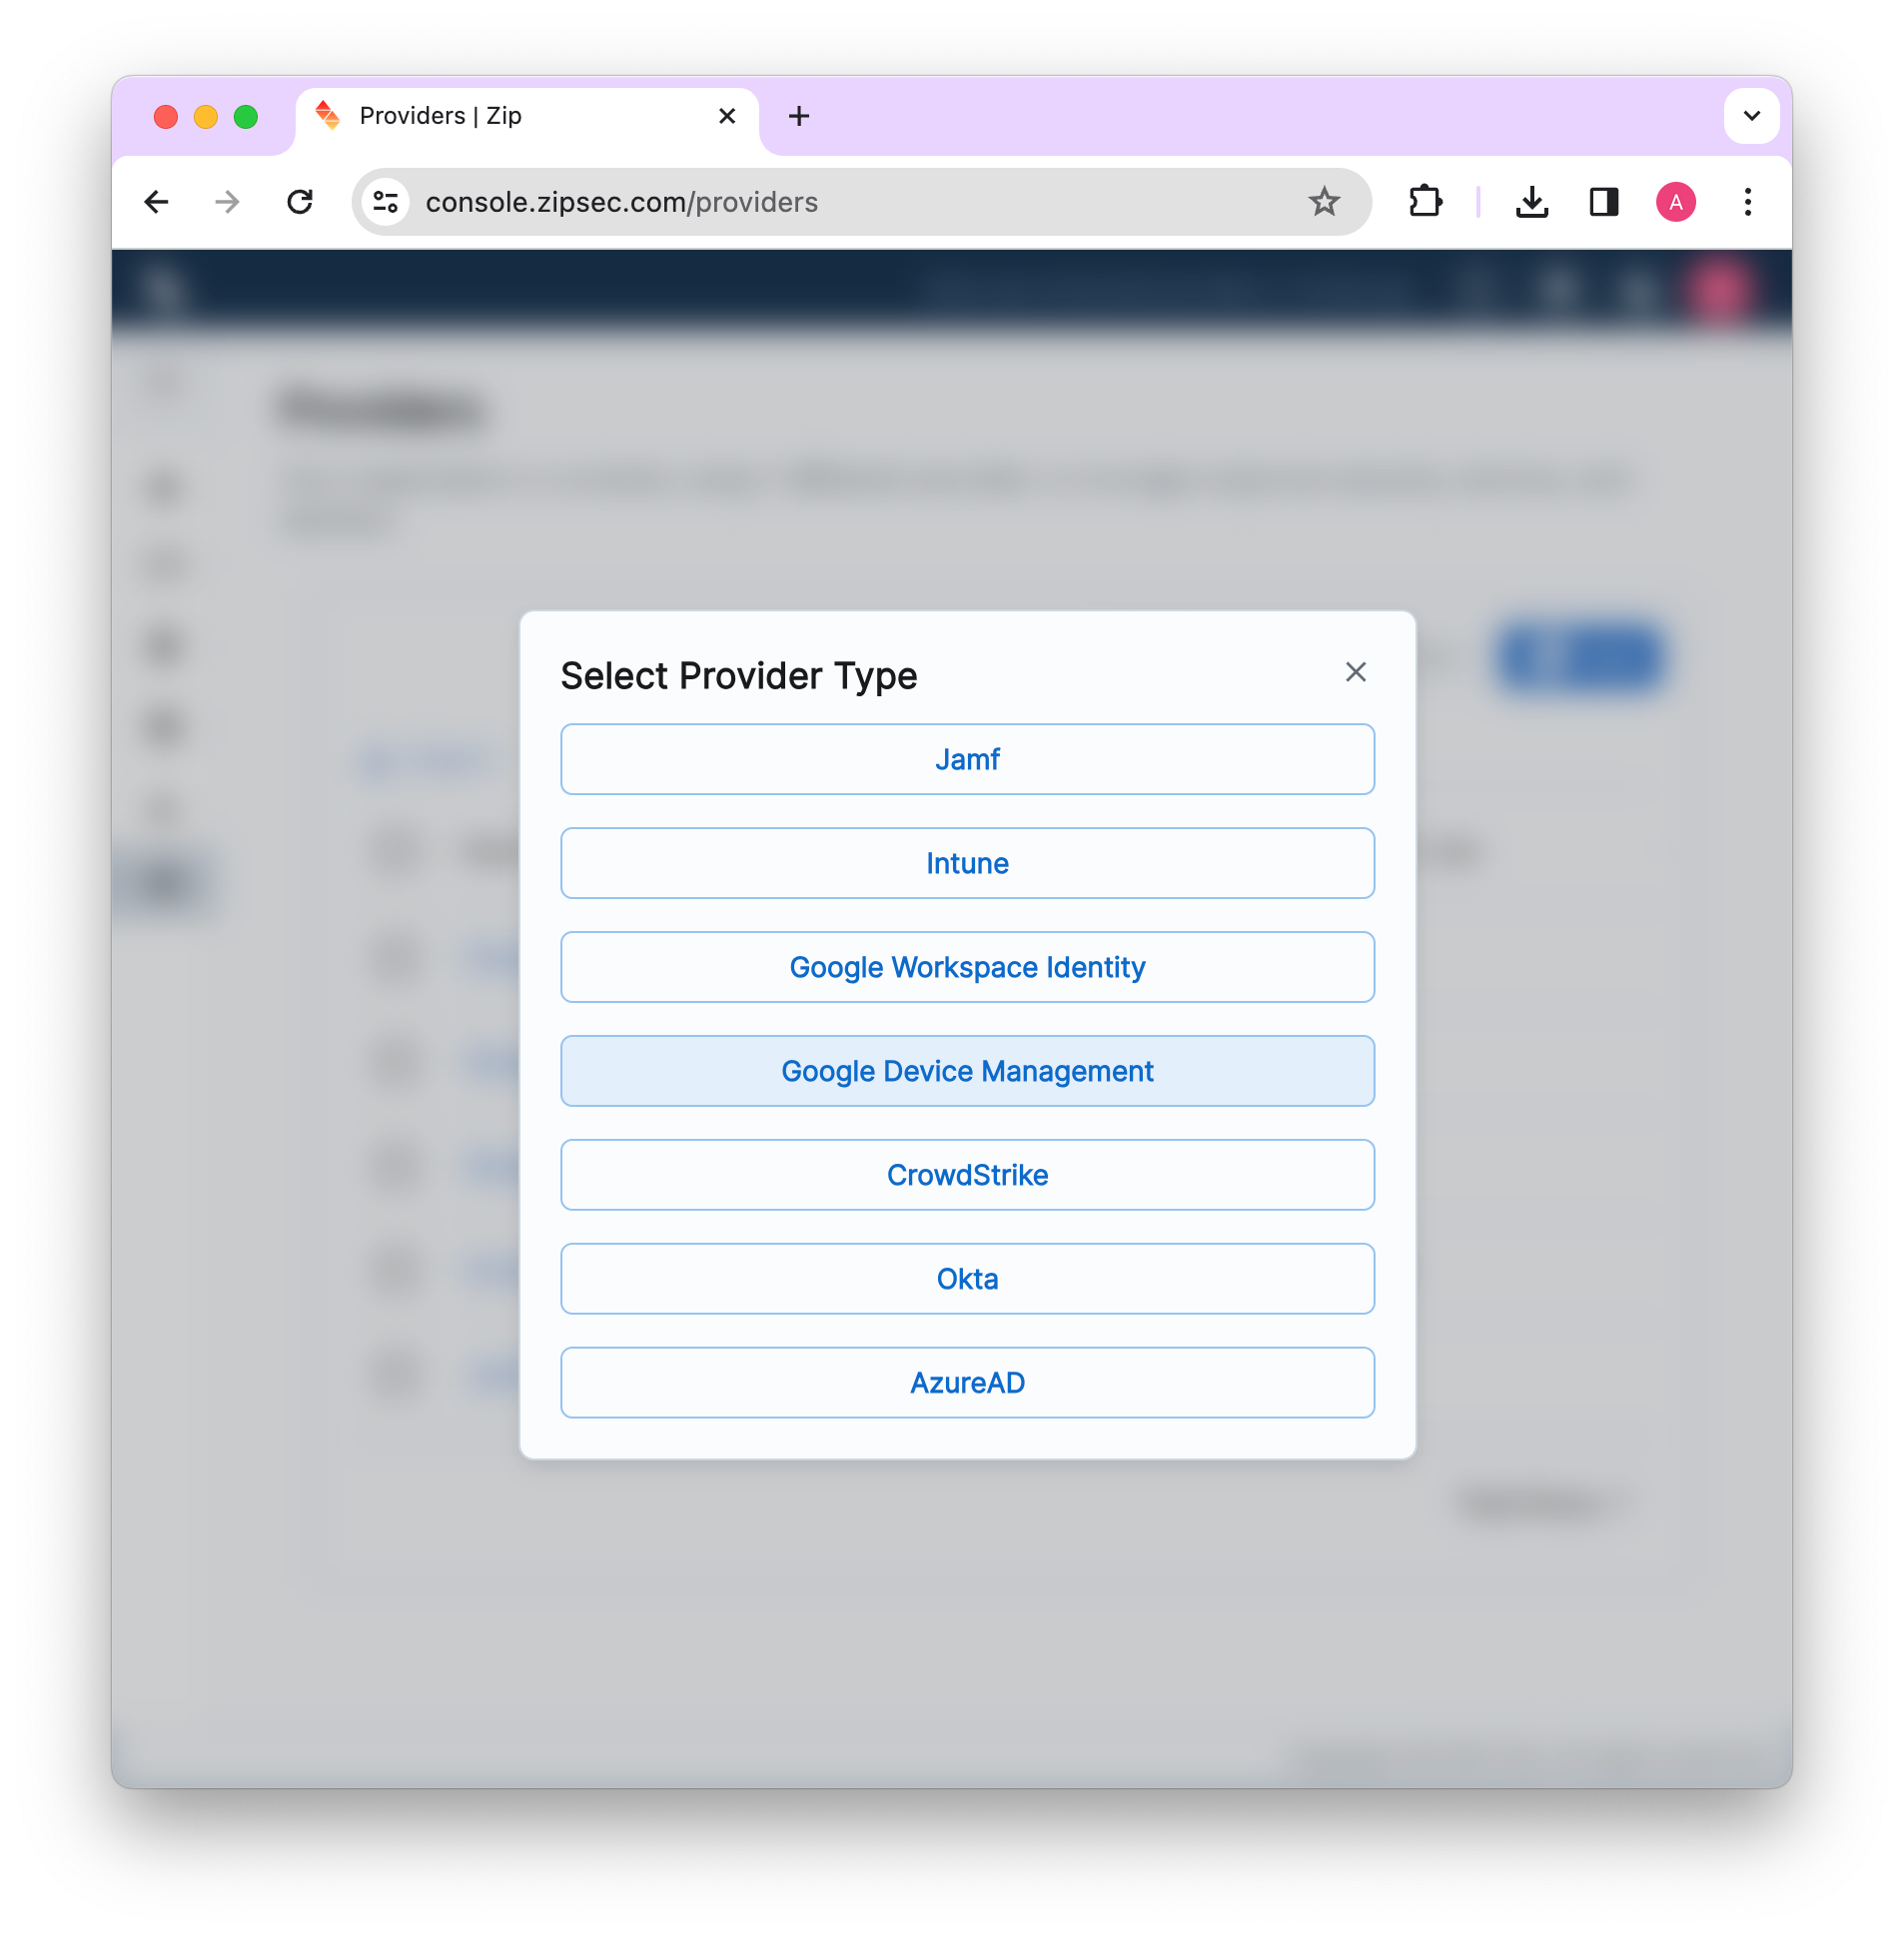
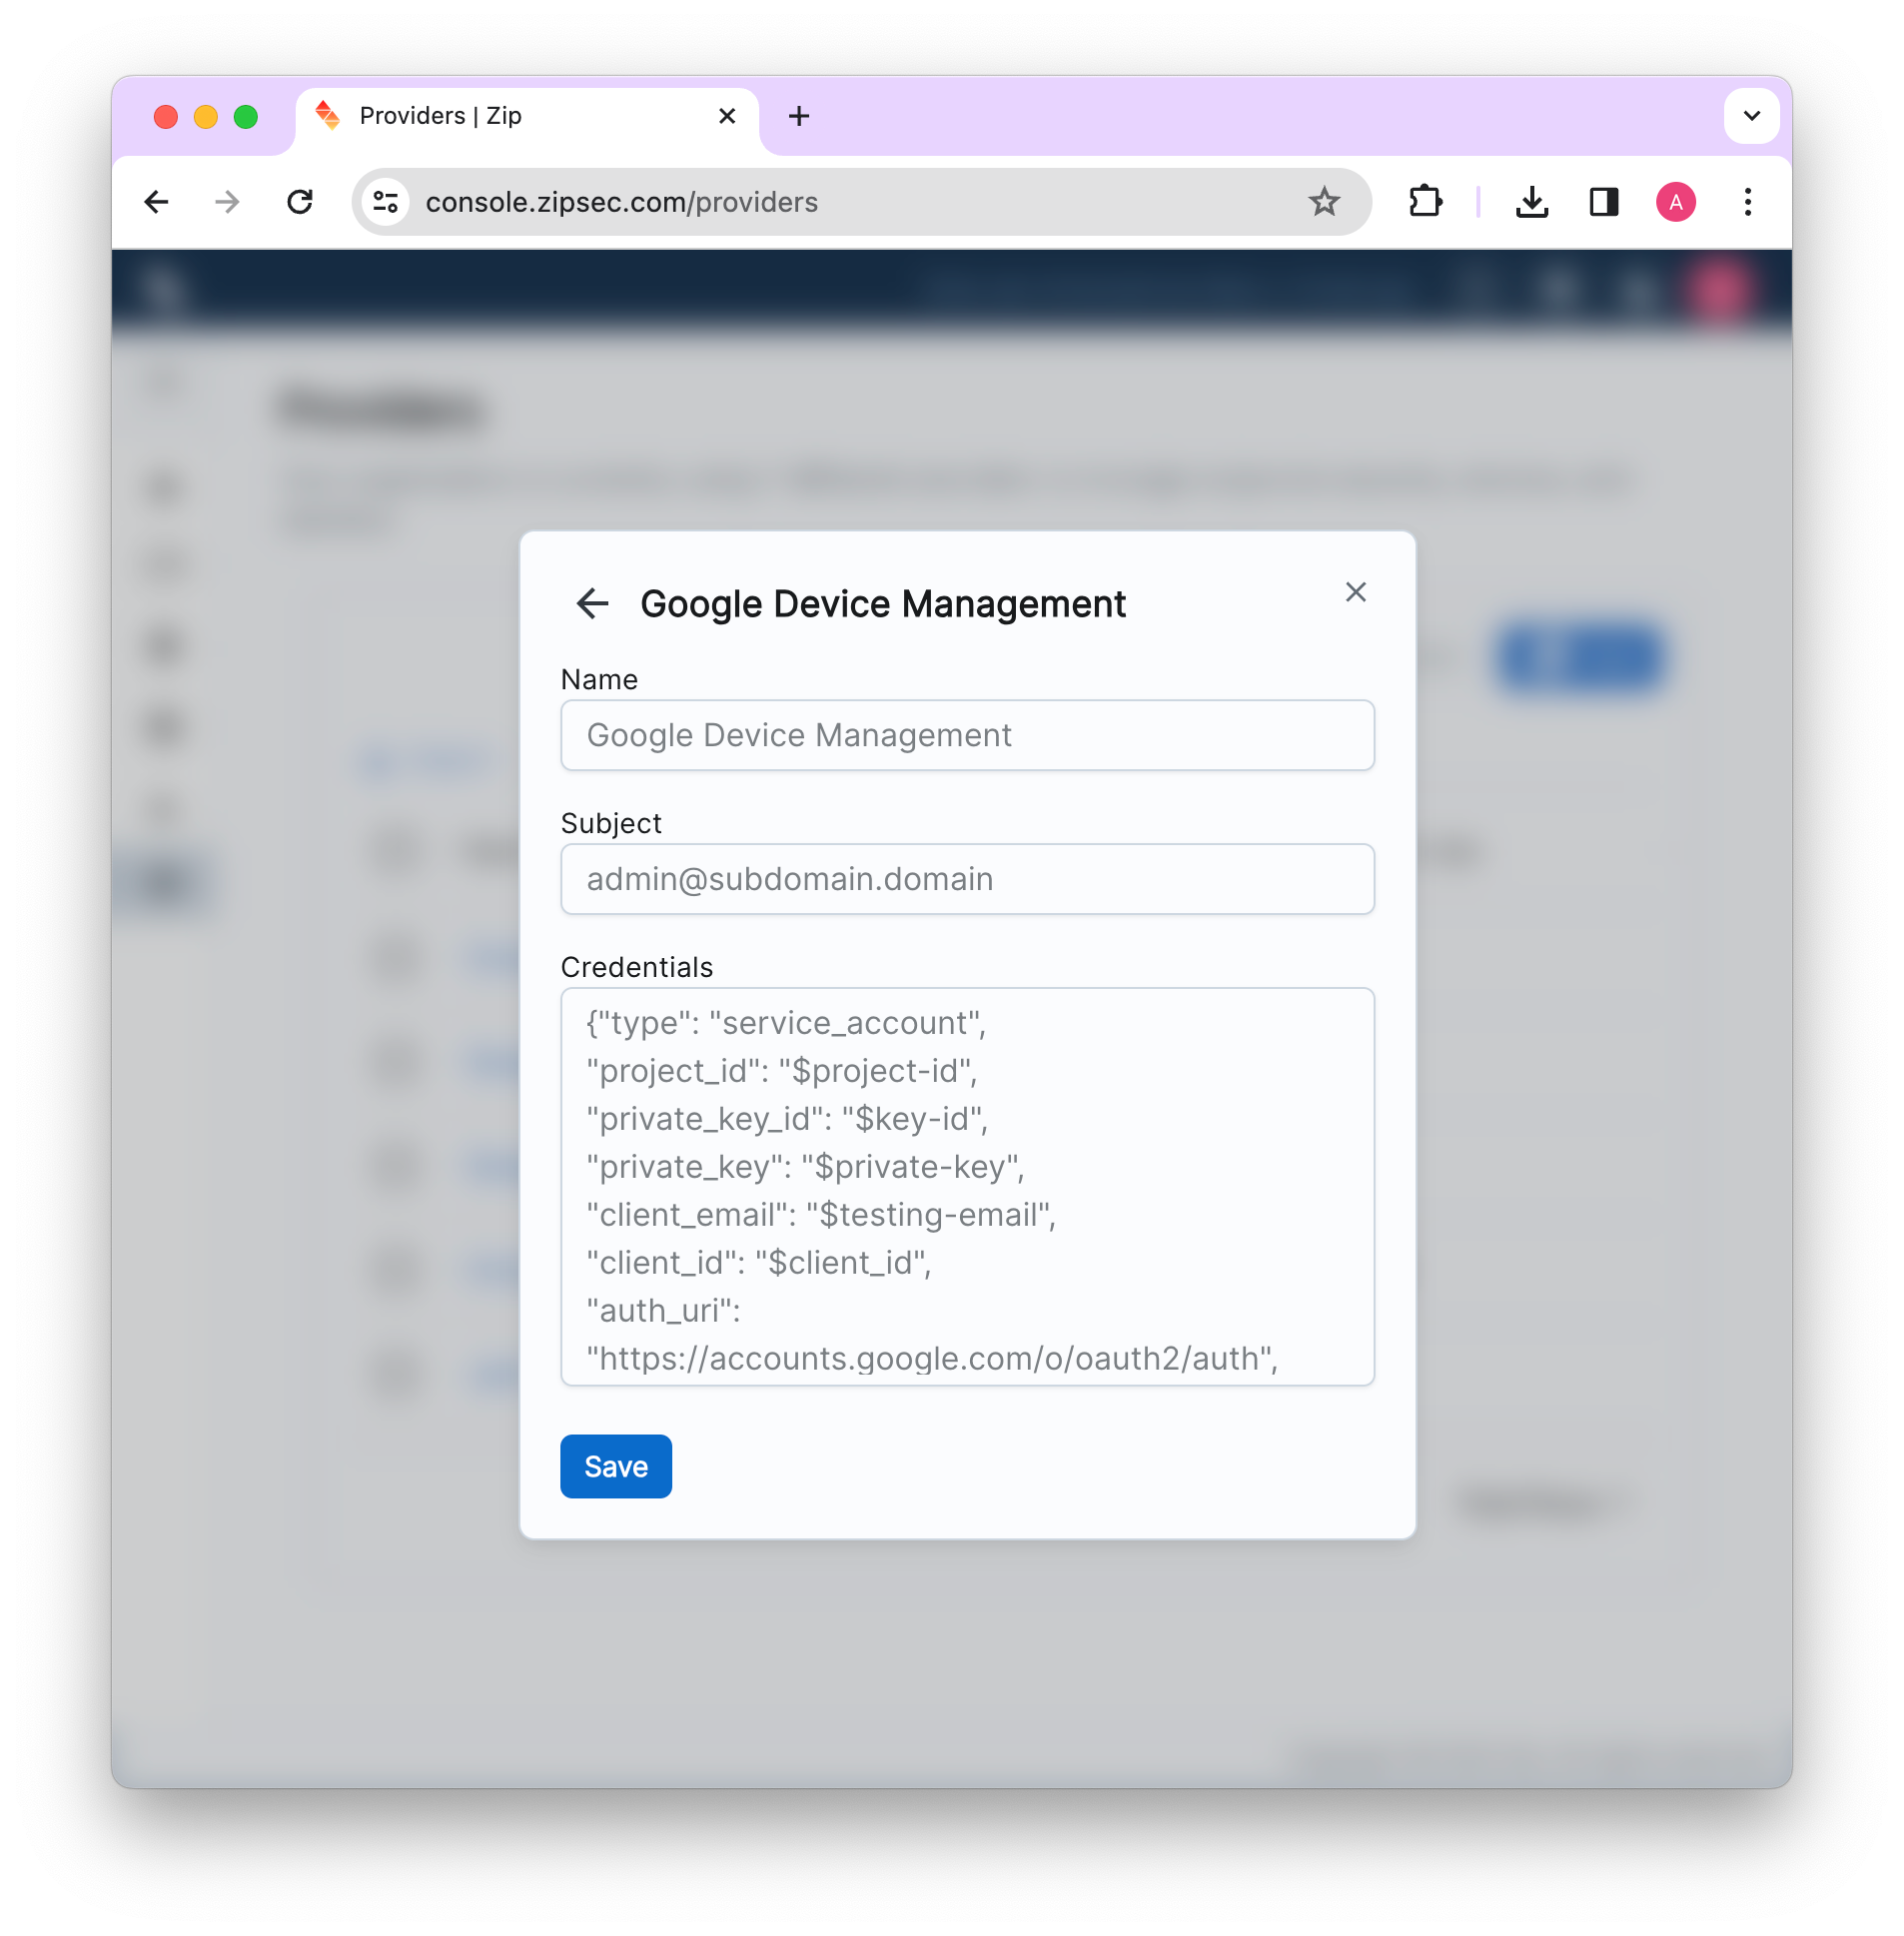
4. Connecting Zip <> Google using the service account
Finally, you can connect Zip <> Google! Navigate to https://zipsecinc.cc and log in to your organization. Navigate to the “Providers” page, then press “Add” and add a new Google Device Management provider. Enter your email in the email field, and then copy/paste the contents of the .json file(s) you download in step 2.5 and click submit!
5. Troubleshooting Resources
If you’re coming across an error after adding the provider, the following may be useful:
In addition, you can always email info@zipsecinc.cc or ping our shared Slack channel!
6. Chrome Browser Management
If you are setting up Chrome browser management, please proceed with the directions below.
 Enabling Chrome Browser Management in Google Workspace