
Below we outline the guidance for connecting Jamf to the Zip Console. If we are provisioning a Jamf instance for you, this step will be completed by the Zip team. If your organization already has Jamf provisioned, you can follow the below instructions to connect it with the Zip console.
Create A Service Account
- Create a Service Account
- Navigate to
https://{{your_jamf_domain}}../../../managing-your-security-strategy/.jamfcloud.com/deviceenrollmentprograminstances.html - Click +New
- Select Create Standard Account and Click Next
- Select the level of access needed for the zip-service-account — we recommend full administrator to leverage all aspects of the Zip Console and always be up to date on new features!
- Automated device enrollment: Read
- Computer PreStage Enrollments: Read
- Computers: Read
- Jamf Cloud Distribution Service Files - Create, Read
- macOS Configuration Profiles: Create, Read, Update, Delete
- Packages: Create, Read, Update, Delete
- Policies: Create, Read, Update, Delete
- Smart Computer Groups: Create, Read, Update, Delete
- Static Computer Groups: Create, Read, Update, Delete
- Cloud distribution point: Read
- Computer inventory collection: Read
- Re-enrollment setting: Read
- Sso Settings: Read + Write
- User-Initiated Enrollment: Read
- View Disk Encryption Recovery Key
- Cloud distribution point: Update
- Re-enrollment setting: Update
- User-Initiated Enrollment: Update
- Generate a secure password
- Make sure “force user to change password” us unchecked
If you’re looking for reduced permissions (or want to minimally be able to use Zip without admin permissions) instructions are below:
1. Go to settings -> User accounts and groups. Click into the account you're going to use or create a new account.
2. On the Account page, make sure the
Privilege Set is Custom.3. Go to the Privileges page.
4. In the section
Jamf Pro Server Objects, make sure the following are selected:5. In the section
Jamf Pro Server Settings, make sure the following are selected:6. In the section
Jamf Pro Server Actions, make sure the following are selected:If you want to set up Jamf from scratch with the Zip recommended permissions, in the section
Jamf Pro Server Settings, make sure the following are selected:Connect Jamf Instance to Zip
- Click “Add new provider” > “Jamf” and enter the service account username, password, and Jamf URL that you set up
- Confirm on page refresh that the Jamf instance was properly connected to Zip
[If you plan to connect an identity provider] Check That Emails are Filled out in Jamf
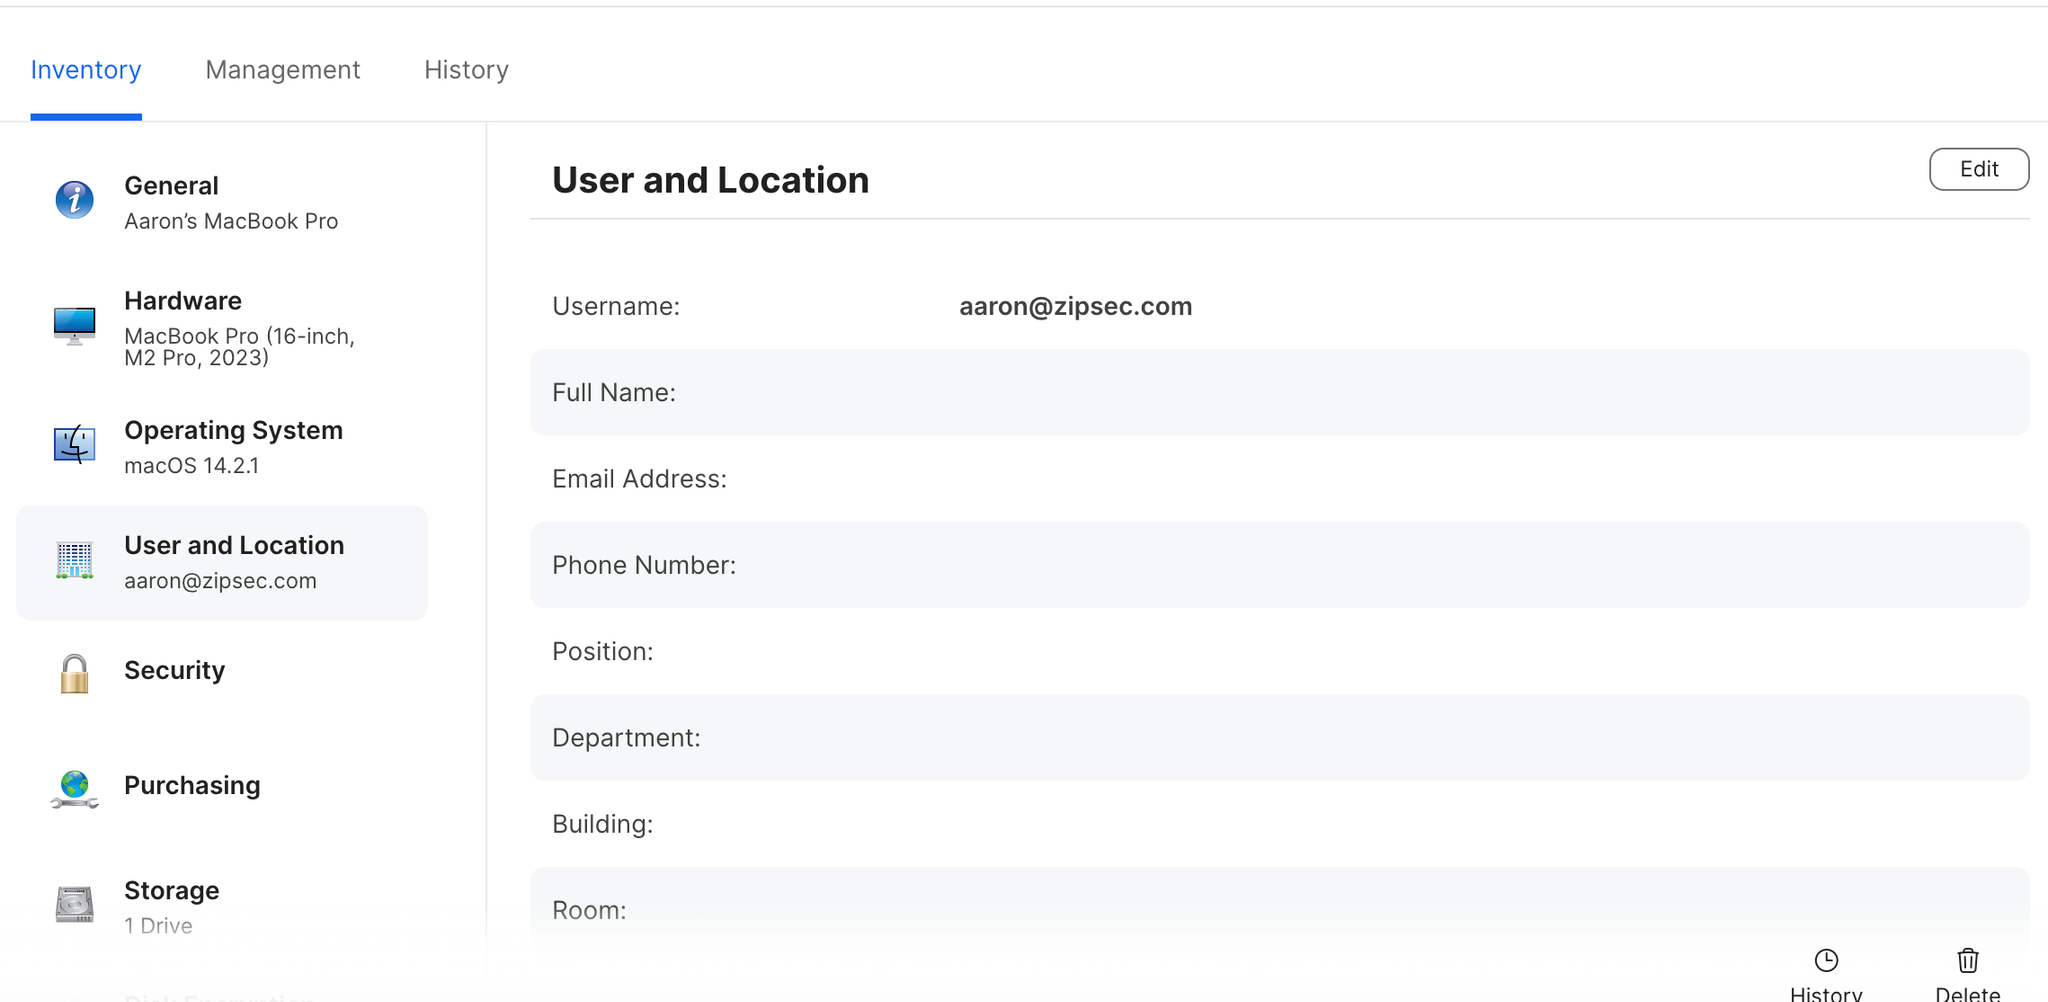
- In order to map identities to devices for inventory listing in the Zip Console, the email field needs to exist on all devices in Jamf. Email can exist in any of the user attributes (either name, or email) but must exist somewhere. To check, go to any device in Jamf > check the “User and Location” attribute > confirm an email exists (either in Username or Email Address). An example below:
Questions? Here’s how to reach us:
- Email: info@zipsecinc.cc